
Foundation Cosmetics Makeup
Applying foundation can feel like a complex art, but it’s actually a simple skill anyone can master. This guide breaks down the process of applying foundation cosmetics makeup for a flawless, natural-looking finish that lasts all day. Whether you're a complete beginner wanting to create an even canvas or someone looking to perfect your technique, these steps will help you achieve a comfortable, second-skin feel. We'll cover everything from skin preparation to setting your final look, ensuring you avoid common mistakes along the way.
Fast Answer
- Skin Prep is Key: Always start with a clean, moisturised, and primed face.
- Application Method: Use fingers, a damp sponge, or a brush based on your desired coverage.
- Blending is Crucial: Blend foundation seamlessly into your hairline and down your neck to avoid lines.
- Set Your Look: Use a light powder or a setting spray to lock your makeup in place.
Before You Start
Proper preparation is the secret to a perfect foundation application. Gathering your tools and ensuring your skin is ready will make the entire process smoother and give you a much better result. Think of it as preparing a canvas before painting; a smooth, clean surface is essential.
What You Need
- Gentle Facial Cleanser: To start with a completely clean face, free of dirt and oils.
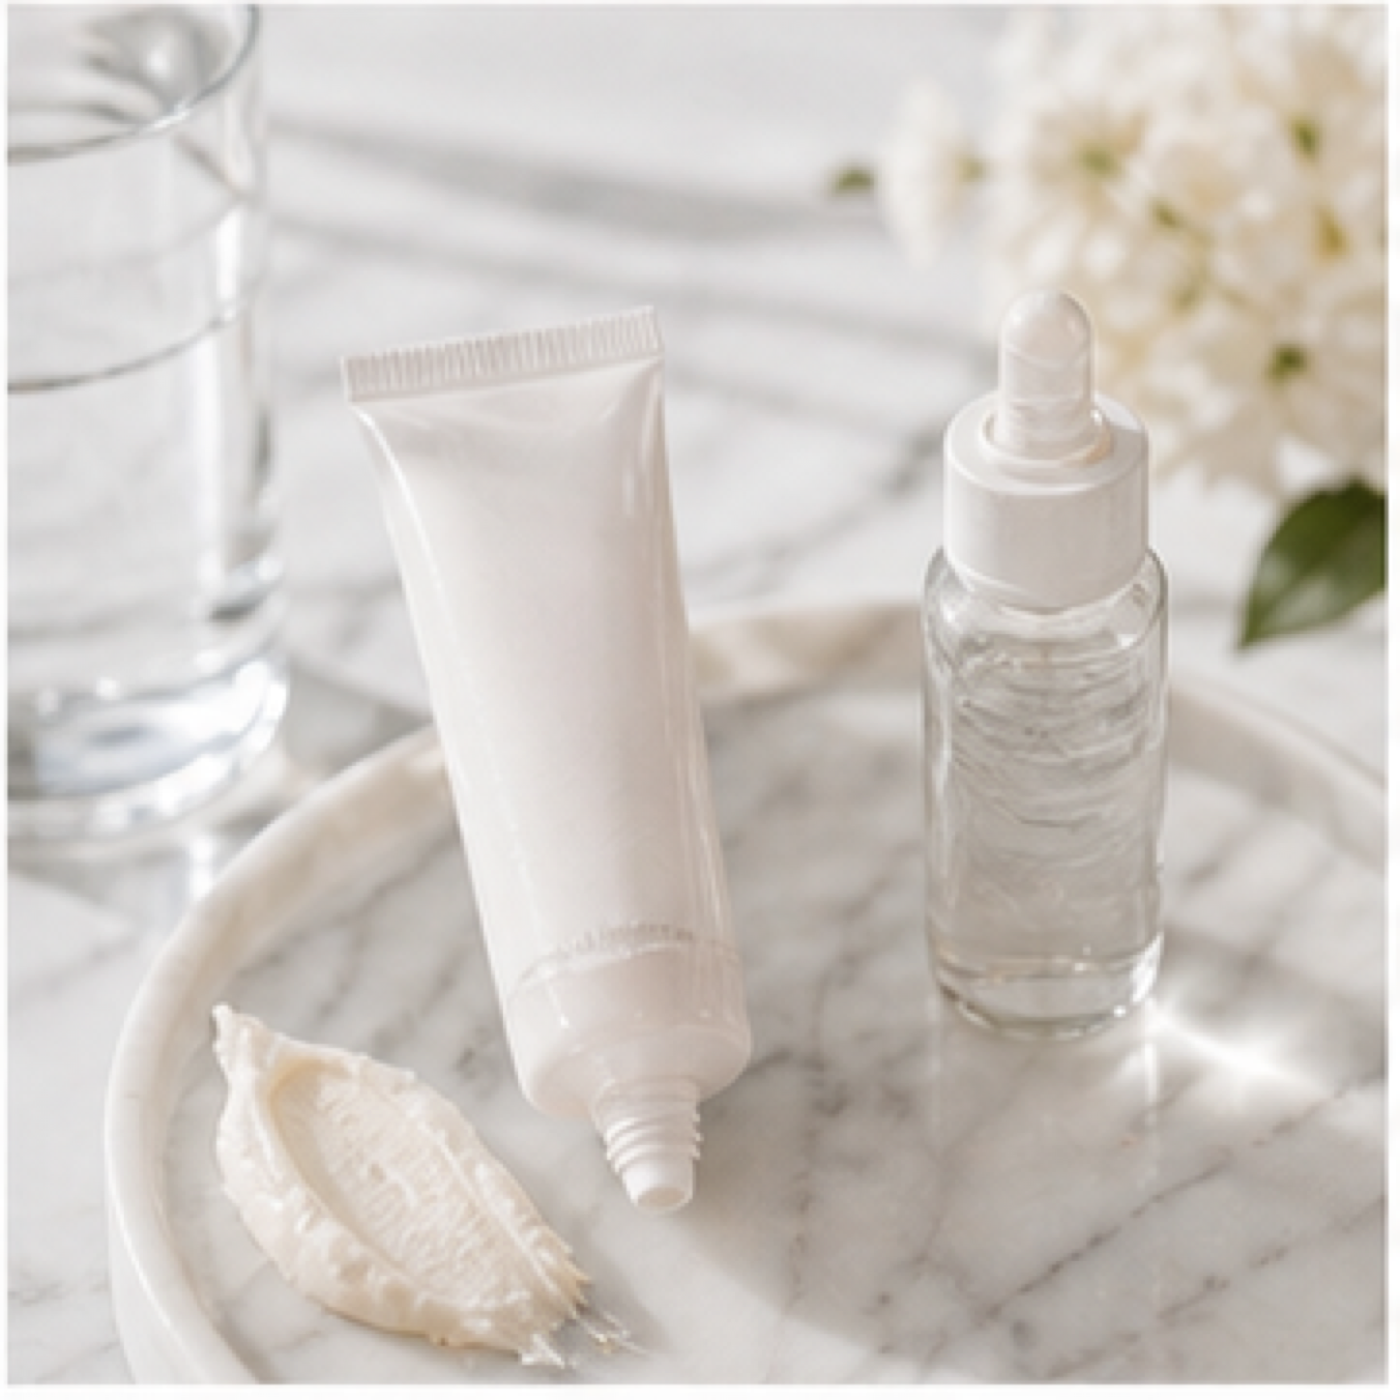
- Moisturiser: Suited to your skin type (e.g., hydrating for dry skin, oil-free for oily skin).
- Primer: Creates a smooth base and helps your makeup last longer. This is optional but highly recommended.
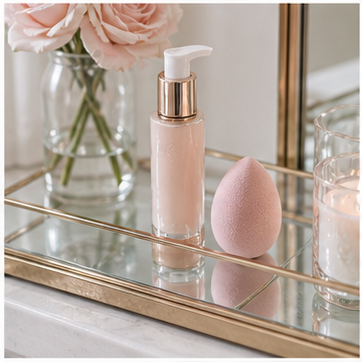
- Your Foundation: The correct shade and formula for your skin type and desired finish.
- Concealer (Optional): For extra coverage on blemishes or under the eyes.
- Application Tool: Your choice of a foundation brush, a makeup sponge, or your clean fingers.
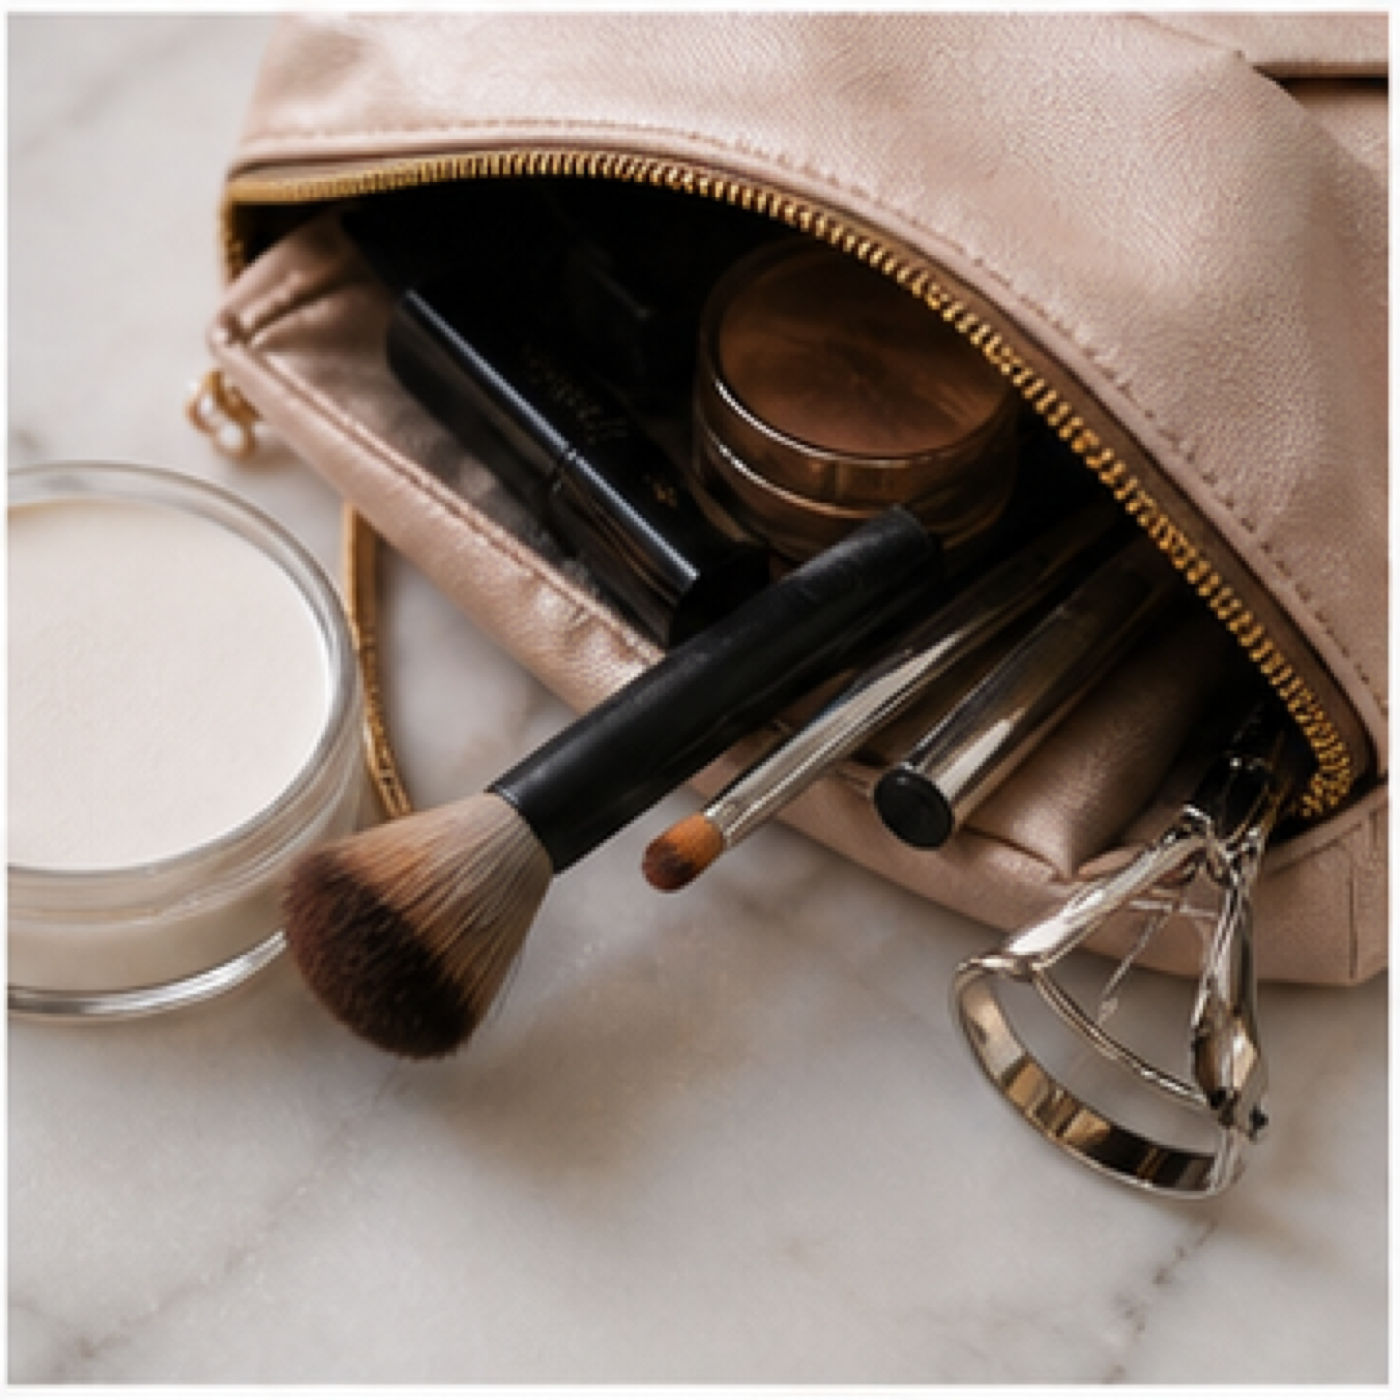
- Setting Powder or Spray: To lock in your foundation and control shine.
Safety, Timing, or Context Checks
- Lighting: Try to apply your makeup in natural daylight. Stand near a window to see the most accurate depiction of how your foundation looks. Artificial lighting can be deceptive.
- Clean Tools: Always use clean brushes, sponges, and hands. Dirty tools can harbour bacteria, leading to breakouts and uneven application.
- Patch Test: If you are using a new foundation, always do a patch test on a small area of your jawline 24 hours beforehand to check for any skin irritation or allergic reactions.
Step-by-Step Instructions
Prepare Your Skin Canvas
Your foundation will only look as good as the skin underneath it. Start by washing your face with a gentle cleanser to remove any impurities. Pat your skin dry with a clean towel. Next, apply a moisturiser that works for your skin type. This step is crucial for everyone, even those with oily skin, as it hydrates and plumps the skin, preventing foundation from clinging to dry patches or looking cakey. Allow the moisturiser to fully absorb for at least 5 minutes before moving on.
Apply a Suitable Primer
Primer acts as a buffer between your skin and your makeup. It can smooth out skin texture, fill in fine lines and pores, and create a grippy surface for your foundation to adhere to, significantly increasing its wear time. Squeeze a pea-sized amount onto your fingertips and gently massage it into your skin, focusing on your T-zone (forehead, nose, and chin) or any areas where your makeup tends to fade quickly. Like your moisturiser, give the primer a minute to set before applying foundation.
Dispense and Warm the Foundation
Less is always more when it comes to foundation. Start with a small amount—one pump or a coin-sized dollop is usually enough for the entire face. Dispense it onto the back of your clean hand or a makeup palette. Using the back of your hand acts as a painter's palette and gently warms the product with your body heat, which helps it to blend more seamlessly into the skin for a natural finish.
Dot Foundation onto Your Face
Instead of applying a large amount of foundation to one area and trying to spread it, distribute the product evenly. Using your finger, place small dots of the foundation on the key areas of your face: a few on your forehead, down your nose, on each cheek, and on your chin. This technique ensures you don't overload any single spot and helps you achieve a more even, lightweight layer of coverage across your entire face.
Blend with Your Chosen Tool
The blending process is what truly creates a flawless finish. Your choice of tool will affect the final coverage.
- Fingers: The warmth from your fingers helps melt the product into the skin. Use gentle patting and tapping motions. This method is excellent for sheer, natural coverage.
- Damp Makeup Sponge: Run your sponge under water, then squeeze out all the excess. A damp sponge prevents the product from being absorbed and gives a beautiful, dewy, airbrushed finish. Use bouncing or stippling motions to press the foundation into the skin. Never drag or wipe.
- Foundation Brush: For higher coverage, a dense buffing brush is ideal. Use small, circular motions to buff the product into the skin. For targeted coverage, a flat foundation brush or a stippling brush can be used to pat product onto specific areas.
Start blending from the centre of your face and work your way outwards towards your hairline and jaw.
Blend the Edges Seamlessly
This is a step that many people forget, but it is vital for a natural look. Pay close attention to the edges of your face. Make sure you gently blend the foundation into your hairline so there isn't a harsh line. Most importantly, blend the foundation down your jawline and slightly onto your neck. Your face and neck should be the same colour. There should be no visible line where your makeup ends.
Assess and Build Coverage if Needed
Once you've applied one even layer, step back and examine your skin. Do you have any areas, like blemishes or redness around the nose, that need a little more coverage? If so, take a tiny amount of extra foundation and gently tap it onto those specific spots only. This targeted approach prevents you from building up a thick, heavy layer all over your face, keeping the overall look fresh and skin-like.
Apply Concealer Where Necessary
If you still see dark circles or stubborn blemishes after applying foundation, now is the time for concealer. Applying it after foundation is more efficient because the foundation has already done most of the work, meaning you'll use far less concealer. Dot a small amount under the eyes or directly onto a blemish and gently tap to blend the edges with your ring finger or a small brush. For under the eyes, choosing a shade one step lighter can help brighten the area.
Set Your Foundation for Longevity
To ensure your hard work lasts all day and to minimise shine, you need to set your foundation. You have two main options:
- Setting Powder: Using a large, fluffy brush, lightly sweep a translucent or skin-toned setting powder across your face. Focus on the T-zone and any areas that tend to get oily. For a more matte, locked-in finish, you can press the powder in with a powder puff.
- Setting Spray: For a more natural, skin-like finish, a setting spray is an excellent choice. Hold the bottle about an arm's length away from your face and mist it lightly in an 'X' and 'T' formation. It will melt all the powder and liquid products together and lock them in place.
Quick Reference
| Situation | Use this | Why |
|---|---|---|
| Dry, Flaky Skin | Hydrating primer, luminous foundation, and a damp sponge. | This combination adds moisture and presses product into the skin without lifting dry patches. |
| Oily, Shiny Skin | Mattifying primer, oil-free foundation, and setting powder. | These products work together to control excess oil and shine for a long-lasting matte finish. |
| A Natural, 'No-Makeup' Look | Fingers or a damp sponge, with a light coverage foundation or tinted moisturiser. | This applies the thinnest, most skin-like layer of product for an everyday, evened-out complexion. |
| Covering Blemishes or Redness | A dense foundation brush and a medium-to-full coverage formula. | A brush allows you to build and stipple product for maximum pigment payoff exactly where you need it. |
Common Problems When You Apply Foundation
Even with the best technique, things can sometimes go wrong. Here are some common foundation frustrations and how to fix them.
Problem: My Foundation Looks Cakey or Heavy
The Cause: This is almost always caused by using too much product or applying it to dehydrated skin. A heavy powder application can also contribute.
The Fix: Start with half the amount of foundation you think you need and build up thin layers only where necessary. Ensure your skin is thoroughly moisturised before you begin. If your makeup already looks cakey, spritz your face with a hydrating setting spray and gently press it into your skin with a damp sponge to help the products melt together.
Problem: My Foundation Separates or Goes Patchy
The Cause: This often happens when your skincare, primer, and foundation formulas are not compatible (e.g., mixing oil and water-based products). It can also be caused by excess oil on the skin breaking through the makeup.
The Fix: Check the ingredient lists of your products. As a general rule, pair water-based primers with water-based foundations, and silicone with silicone. If oil is the issue, use a mattifying primer and carry blotting papers to absorb excess shine throughout the day without disturbing your makeup.
Problem: My Foundation Sinks Into Fine Lines and Pores
The Cause: Using a foundation formula that is too thick or dry can cause it to settle into lines. Applying too much product will also highlight texture.
The Fix: Opt for lightweight, hydrating, or luminous formulas. A pore-filling primer can create a smoother canvas. When applying, use a damp sponge to press foundation into the skin, which gives a sheerer application. Set with a very fine-milled powder, applied lightly.
Advanced Tips for Foundation Cosmetics Makeup
Once you've mastered the basics, try these professional techniques to elevate your foundation game.
- Custom-Mix Your Shade: Few people are the exact same skin tone year-round. Keep two shades of your favourite foundation—one for your lightest skin tone and one for your most tanned—and mix them on the back of your hand to create your perfect custom shade for any season.
- Create a Dewy Glow: For a luminous, healthy-skin finish, mix a single drop of liquid highlighter or a facial oil into your foundation before applying. This gives a subtle, lit-from-within radiance that looks more natural than a powder highlighter on top.
- Try Underpainting: This technique involves applying your cream contour, blush, and highlighter before your foundation. Then, you apply a very sheer layer of your foundation over the top using a damp sponge. This creates an incredibly soft, diffused, and natural-looking dimension to the face.
- Pinpoint Concealing: For days when you want your skin to look like real skin, skip a full face of heavy foundation. Apply a very sheer layer all over, and then use a tiny, fine-tipped brush with a high-coverage concealer to cover blemishes or red spots one by one. This gives you a flawless look without the feel of heavy makeup.
Foundation Cosmetics Makeup FAQ
How do I find my undertone for foundation?
Look at the veins on the inside of your wrist in natural light. If they appear mostly blue or purple, you likely have a cool undertone. If they look greenish, you have a warm undertone. If it's hard to tell or you see a mix, you may have a neutral undertone. Foundations are typically labelled with C, W, or N to help you choose.
Can I use foundation as a concealer?
Yes, you can! If your foundation has buildable, medium-to-full coverage, simply apply a little extra to the areas you need it and let it sit for a minute to thicken slightly before blending the edges. This is a great way to get a perfect colour match for covering blemishes.
Why does my foundation look dry by the end of the day?
This usually means your skin is dehydrated, or the foundation formula is too mattifying for your skin type. Try using a more intensive moisturiser, a hydrating primer, and switching to a foundation with a satin or dewy finish. A hydrating facial mist can also be used throughout the day to refresh your look.
How often should I clean my makeup brushes and sponges?
To prevent bacteria growth and ensure a smooth application, makeup sponges should be washed after every use. Foundation brushes should be deep cleaned at least once a week with a proper brush cleanser or gentle soap.
Final Checklist for Foundation Cosmetics Makeup
Before you head out, run through this quick checklist to ensure your application is perfect.
- Your skin was clean, moisturised, and primed before application.
- You started with a small amount of product and built up coverage slowly.
- The foundation is blended seamlessly at your hairline, jaw, and down your neck.
- There are no harsh lines or visible patches.
- The finish looks even and feels comfortable on your skin.
- Your final look has been set with powder or spray to ensure it lasts.
- Your tools are set aside to be cleaned, ready for their next use.