
How To Choose The Right Foundation For Mature Skin
Choosing a foundation for mature skin requires careful attention to texture, coverage, and formulation to avoid settling into fine lines or emphasizing dryness. This guide walks you through understanding your skin's needs, prepping properly, selecting the right finish and ingredients, and applying with techniques that create a smooth, natural-looking canvas. You'll find practical steps, quick reference tips, and solutions to common problems.
Fast Answer
- Look for hydrating, lightweight formulas with a satin or dewy finish, and avoid matte, powder-based foundations that can look cakey.
- Prep your skin thoroughly with moisturizer and primer, then apply foundation with a damp sponge using light pressing motions to minimize texture.
Before You Start
- Identify your skin's current needs: note any dry patches, oiliness in the T-zone, fine lines, or redness that may influence your foundation choice.
- Exfoliate gently twice a week with a lactic or enzyme exfoliant to smooth the surface, but avoid harsh scrubs that can irritate mature skin.
- Choose a hydrating primer that fills fine lines and blurs pores; apply it to clean, moisturized skin and wait two minutes before foundation.
- Have a sample or tester available to try the foundation on your jawline or cheek, not just your hand, to see how it blends with your neck.
Step-by-Step Instructions
Cleanse and Prep Your Skin Foundation Canvas
Start with a clean, well-hydrated face because foundation adheres best to a smooth, moisturized surface. Use a gentle, sulfate-free cleanser that doesn't strip your skin's natural oils, then follow with a rich, ceramide-based moisturizer, especially if you have dry or combination skin. Allow the moisturizer to sink in for three to five minutes, as this reduces the chance of pilling and helps foundation glide on evenly. If your skin is oily, still moisturize, but choose a lighter gel formula. At this stage, apply any eye cream, being careful not to tug the delicate skin. After moisturizer, apply a thin layer of face oil if you need extra hydration, but use no more than two drops and press it in. This step is non-negotiable for mature skin because a hydrated base prevents foundation from clinging to dry patches or settling into lines. A practical check is to feel your skin after moisturizing: it should feel smooth and slightly tacky, not slick or sticky. This ensures you are ready for primer, as slippery skin causes foundation to slide, while tackiness helps it adhere.
Apply Filler Primer on Texture-Prone Areas
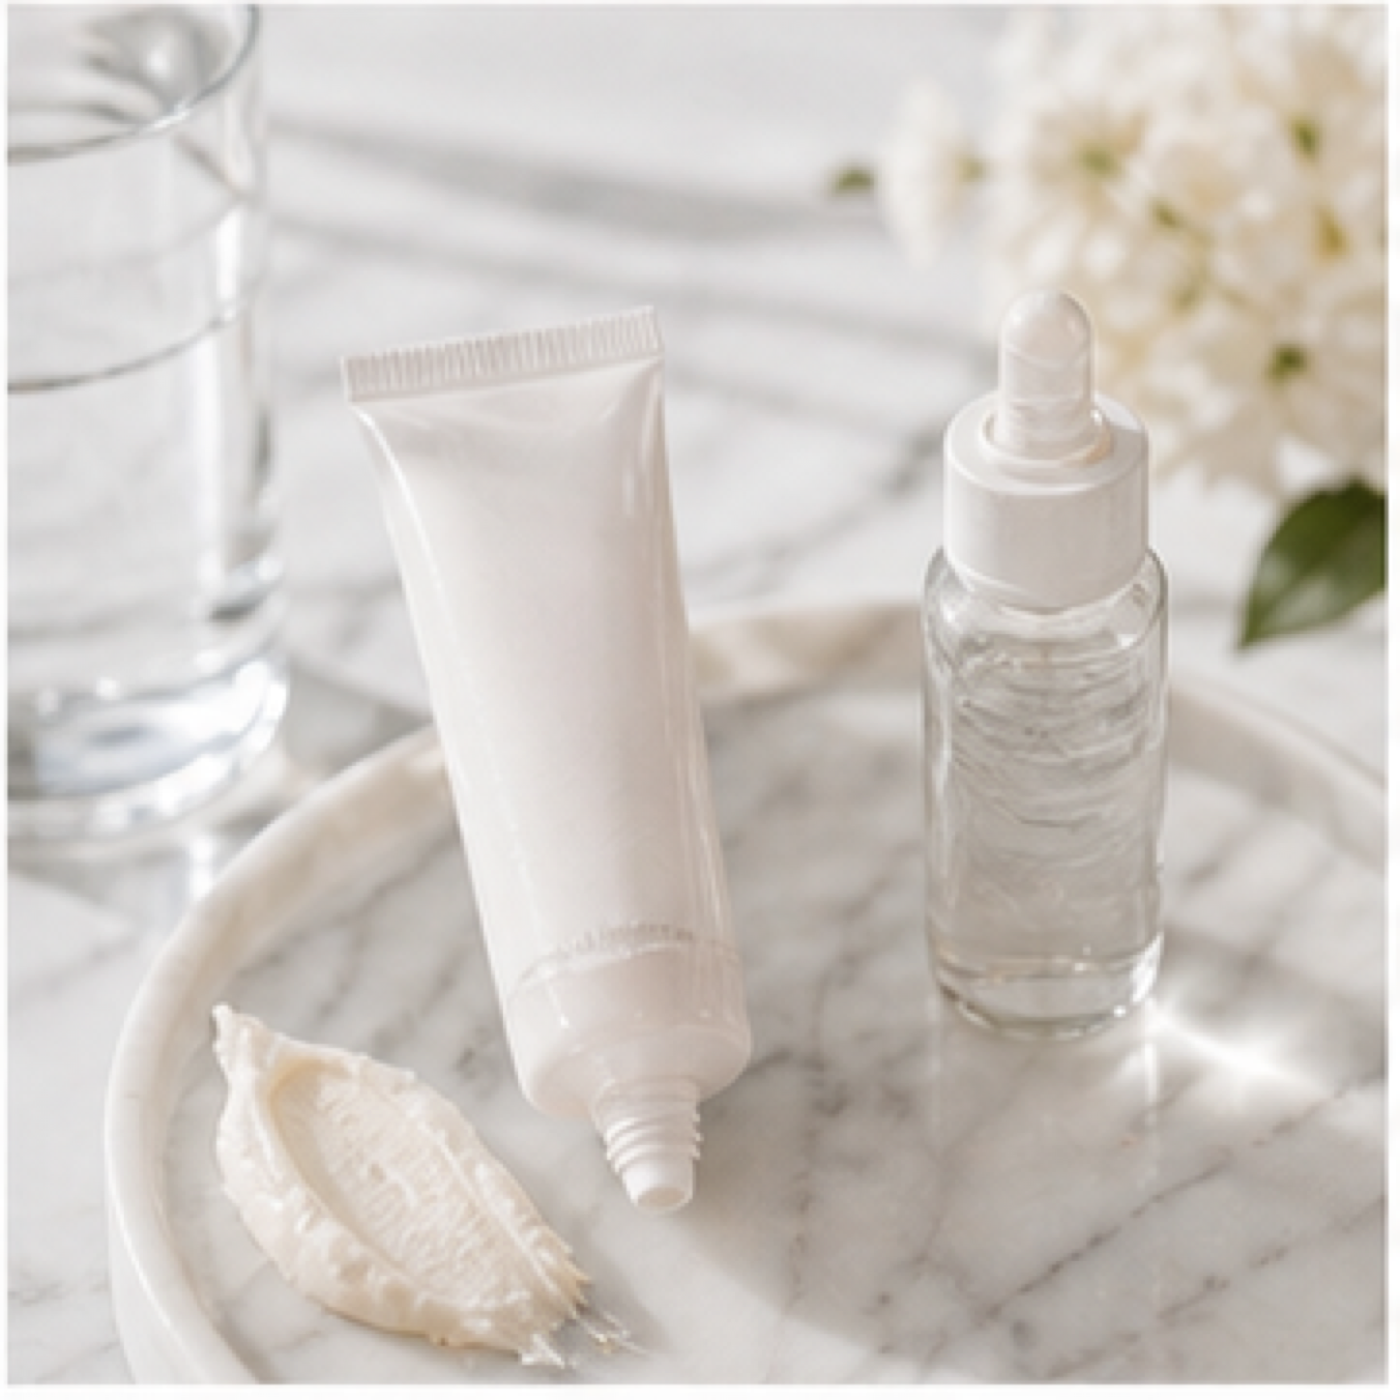
Primer creates a smooth base for foundation and can extend wear. Choose a silicone-based primer that specifically targets enlarged pores or fine lines, but do not apply it all over your face if you have combination skin. Instead, focus on areas where texture is most visible: under eyes, around the nose, and between brows. Squeeze a pea-sized amount onto your fingertips and gently press the primer into the skin using a patting motion, not rubbing, because pressing fills the lines rather than dragging them. Wait at least two minutes for the primer to set, as this prevents it from mixing with foundation and creating a slippery mess. A good check is to touch your skin lightly; it should feel silky and blurred, not sticky or heavy. If you find the primer causes your foundation to slide, reduce the amount or use a water-based primer that works better with your skin type. Avoid using too much primer, as it can cake up and actually emphasize the very texture you are trying to hide.
Choose the Right Finish and Formula for Your Mature Skin
The formula and finish of your foundation are critical in achieving a natural look on mature skin. Avoid matte, oil-free, or powder foundations because they tend to dry your skin and settle into wrinkles, making them more noticeable. Instead, choose a hydrating, luminous, or satin finish formula that reflects light and creates a healthy glow. Liquid foundations are generally best, but if you prefer a cream, choose a “creamy blush-like” texture that is not too dense. Test the foundation on your jawline to ensure it matches your neck and under light to see the true color. Also consider the coverage level: medium or buildable coverage is usually ideal because it hides discoloration without looking heavy. High-coverage, full-matte foundation should be avoided, as it will look mask-like. When in doubt, pick a formula that includes hyaluronic acid or glycerin, as these attract moisture to the skin, keeping it supple.
Apply Foundation with a Damp Sponge Using Pressing Moves
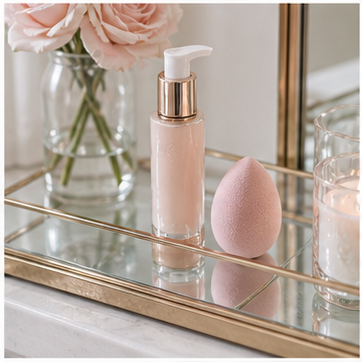
How you apply foundation matters just as much as the product itself. For mature skin, avoid using your fingers in a rubbing motion and avoid thick brushes that can streak. The best tool is a damp makeup sponge (like a beauty blender) or a dense, buffing brush. Start by dampening the sponge under water and squeezing out excess until it is very damp, not dripping. Squirt a small amount of foundation onto the back of your hand and pick up a little with the sponge. Apply the foundation to your face using a pressing and stippling motion: gently bounce the sponge over your skin, starting from the center and moving outward. This presses the foundation into the skin rather than dragging it across the surface, which reduces the chance of it settling into lines. Build coverage in thin layers, waiting a few seconds between layers. A good check is to look at your skin after the first layer: it should look like a sheer veil, not a heavy mask.
Set with a Finishing Powder Only Where Needed
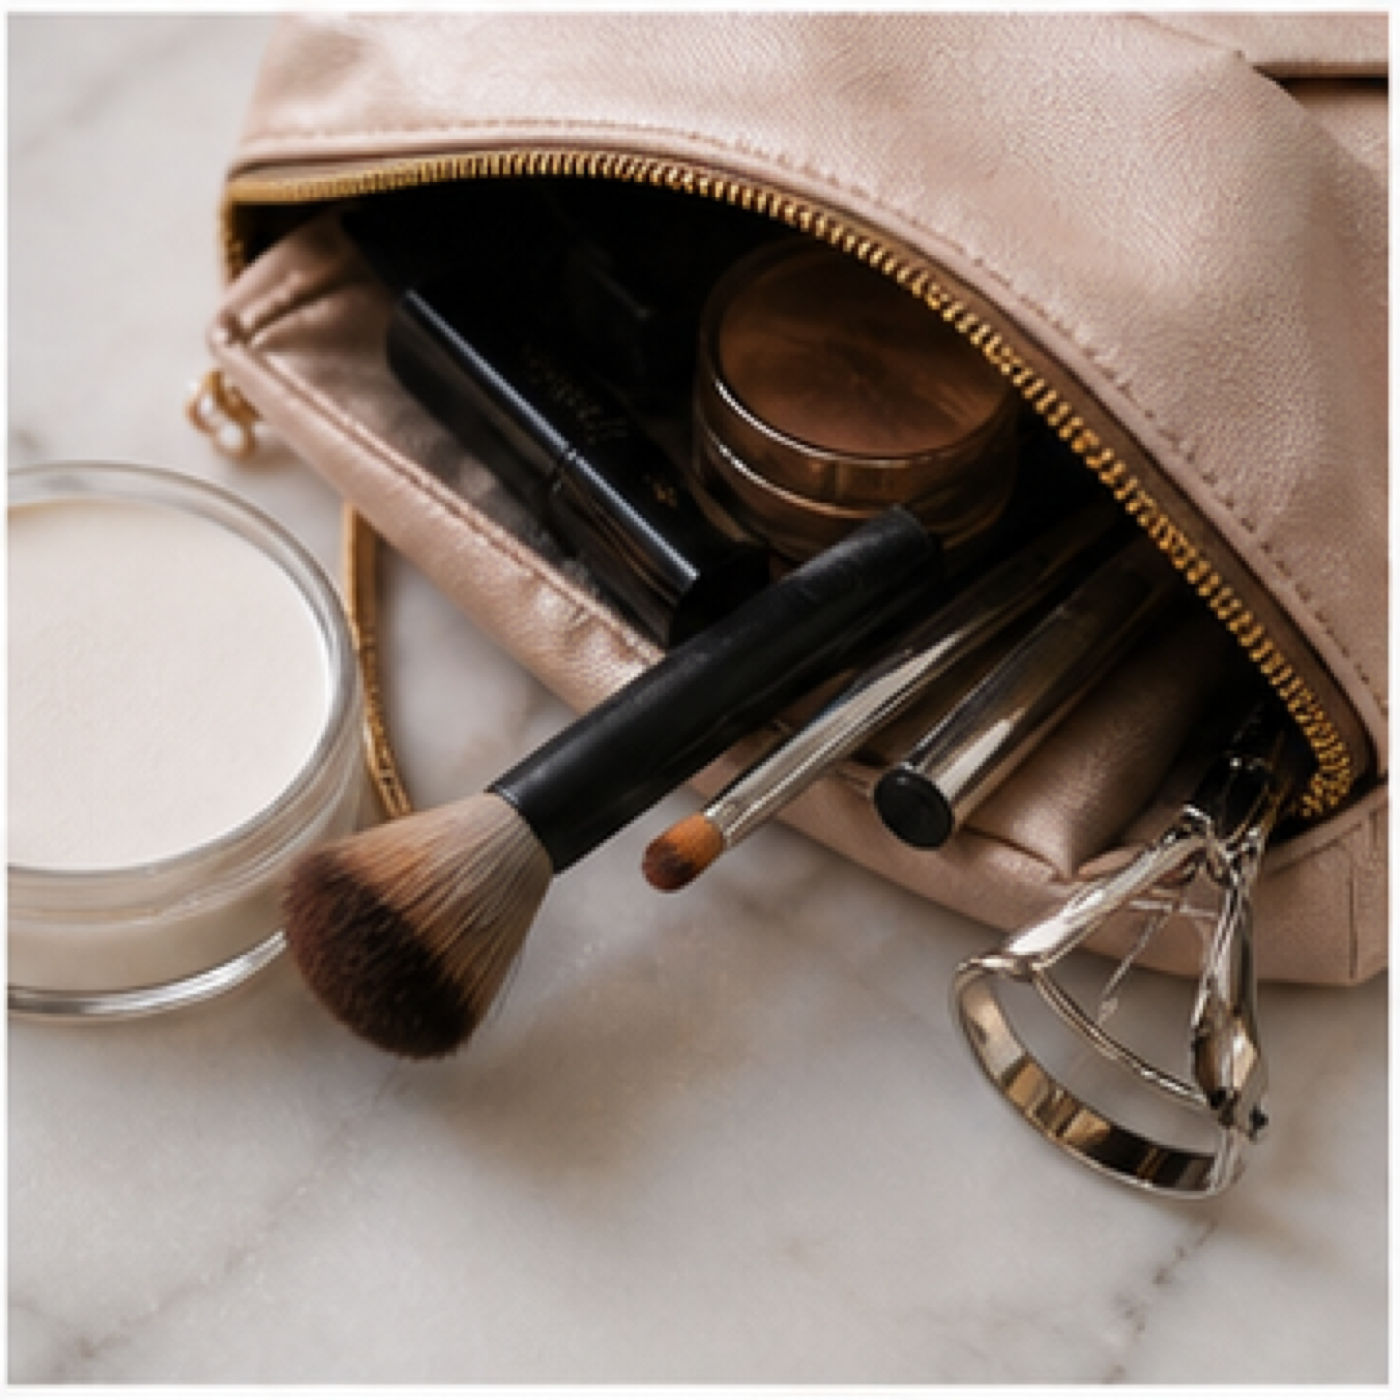
Many mature women avoid powder altogether, but a light dusting in strategic areas can help control shine without drying out the skin. Use a finely milled, translucent powder with a satin or subtly luminous finish (not matte). Apply only to the T-zone: forehead, nose, and chin, where oil tends to appear. Use a soft, fluffy brush, pick up a small amount of powder, tap off the excess, and dust in gentle circular motions. Avoid under-eye areas because powder can settle into creases and make fine lines more visible. If your skin is very dry, you may skip powder entirely and rely on a setting spray to meld the foundation. A practical check is to gently press a tissue on your forehead after applying; if there is smear, you may need a bit more powder, but you should not see a visible powdery layer. Technique is key: less is more.
Finish with Setting Spray to Melt Layers into Skin
Setting spray is the final step that helps your makeup last and gives a natural finish. Choose one that is hydrating and refreshing, not one that contains alcohol, which can dry your skin. Hold the bottle about arm's length from your face, close your eyes, and spritz in an 'X' and 'T' motion. This sets the foundation and also helps melt any powder into the skin, reducing the chance of a cakey look. After spraying, you can gently pat your face with a sponge to remove excess, but avoid rubbing. Wait a few minutes for the spray to dry naturally before touching your face. This step is essential because it locks in your work and provides longevity, especially if you have normal or oily skin. For drier skin, you might skip powder entirely and just use a hydrating setting spray to give a fresh, dewy glow. A final check is to look in natural light and ensure your foundation looks seamless with no harsh lines at your jaw.
Quick Reference
| Situation | Action | Why it helps |
|---|---|---|
| Your foundation looks patchy on dry spots by midday | Before applying foundation, gently exfoliate dry patches using a soft washcloth and moisturize well. During the day, use a hydrating facial mist to revive your makeup and blend the patches. | Dry patches cause foundation to separate because it clings to rough flakes; smoothing and moisturizing provides a more even surface, while a mist re-emulsifies the product to re-blend. |
| Your makeup settles into fine lines around eyes quickly | Use a silicone-based primer on those lines and apply a lighter coverage foundation, skipping powder under the eye area. Use a setting spray to set your entire face. | Creating a smooth base with filler primer prevents foundation from pooling in creases, while avoiding heavy products and powder minimizes visibility of lines. |
| You want a full-coverage look for an event | Instead of a full-coverage foundation, apply a light layer of medium-coverage formula, then selectively use a concealer on redness or spots, and blend well. | Building coverage with layers and concealer is lighter on mature skin, looking natural while concealing imperfections, whereas a heavy foundation would age you. |
Common Issues
- Foundation looks cakey and heavy on your face: Use a damp makeup sponge to press your foundation in instead of brushing or rubbing it on. Also, mix a drop of facial oil or moisturizer with your foundation to thin it out a bit.
- Your foundation changes color or oxidizes to look orange or darker: Allow your primer and skincare to absorb fully for 5 minutes before applying foundation. Choose a foundation one shade lighter than what looks like a match, and test it on your jawline.
- The foundation seems to 'melt' off your nose and T-zone after a few hours: Apply powder only to your T-zone and carry blotting papers with you to absorb oil instead of piling on more product. Consider using a mattifying primer only on those areas.
Advanced Tips
- When you have crepey skin, avoid high-glitter dewy finishes that can accentuate texture; choose a luminous satin or a pure radiance serum with very fine pearl particles instead.
- Use an eye cream right before foundation and give it a minute to absorb; this prevents foundation from collecting in fine lines under your eyes because it locks in hydration.
- Before applying foundation, apply a color-correcting primer (peach for dark circles, green for redness) only where needed to reduce the amount of foundation you need.
Final Checklist
- Exfoliate your skin gently twice a week to keep the surface smooth and to remove dry flakes.
- Always moisturize and apply an eye cream before foundation, allowing each product to sink in properly.
- Test foundation color on your jawline and pick a hydrating formula that matches your skin tone.
- If your foundation needs a refresher, mist your face with a water-based spray to blend any touch-ups.
FAQ
What is the best finish for mature skin foundation?
The best finish is typically satin or a natural radiant finish. These add a subtle glow that reflects light, making your skin look plump and youthful, while a dewy finish can be too shiny, and a matte finish tends to make wrinkles more visible because it is flat and dry.
How can I prevent foundation from settling into wrinkles around my mouth?
Use a primer specifically designed to fill fine lines in those areas, or apply a thin layer of face oil before your foundation to create a smooth surface. Avoid heavy, matte formulas and use a gentle pressing motion with a damp sponge when applying, as this pushes product into the skin without dragging it.
Should mature skin use powder foundation?
Powder foundations should generally be avoided on mature skin because they can settle into wrinkles and make skin look dry and cakey. If you prefer powder for convenience, choose a hydrating powder formula and apply it only with a fluffy brush in light layers, focusing on the T-zone rather than all over.