
Keeping your makeup brushes clean is one of the most important steps for flawless makeup application and healthy skin. This guide provides a simple, effective method to deep clean your brushes, removing built-up product, oil, and bacteria. Following these steps will not only help prevent breakouts and skin irritation but also extend the life of your brushes, ensuring they perform as they should every time you use them.
Fast Answer
- Cleanser: Use a gentle liquid soap, baby shampoo, or a dedicated brush cleanser.
- Water Temperature: Always use lukewarm water, never hot.
- Key Action: Wash and rinse bristles pointing downwards to protect the handle.
- Drying Method: Air dry with bristles hanging over an edge or angled down.
Before You Start
Gathering your supplies beforehand makes the process quick and efficient. The most critical part of preparation is planning for the drying time; your brushes will be out of action for several hours, so it's best to wash them after your last makeup application of the day.
- A gentle cleanser: Baby shampoo, a gentle liquid hand soap (without harsh detergents or moisturisers), or a specialised makeup brush shampoo.
- A small bowl or your hand: You'll need a surface to lather the soap and work it into the bristles.
- A textured silicone mat (optional): These mats have different grooves and textures that help work the cleanser deep into the brush for a more thorough clean.
- Access to a tap with lukewarm water: The temperature is important for protecting the brush glue.
- A clean, lint-free towel: For gently squeezing out excess water and for laying the brushes on to dry.
- A suitable drying area: A space where brushes can lie flat with bristles over an edge, or a dedicated brush drying rack.
Step-by-Step Instructions
Wet the Bristles Only
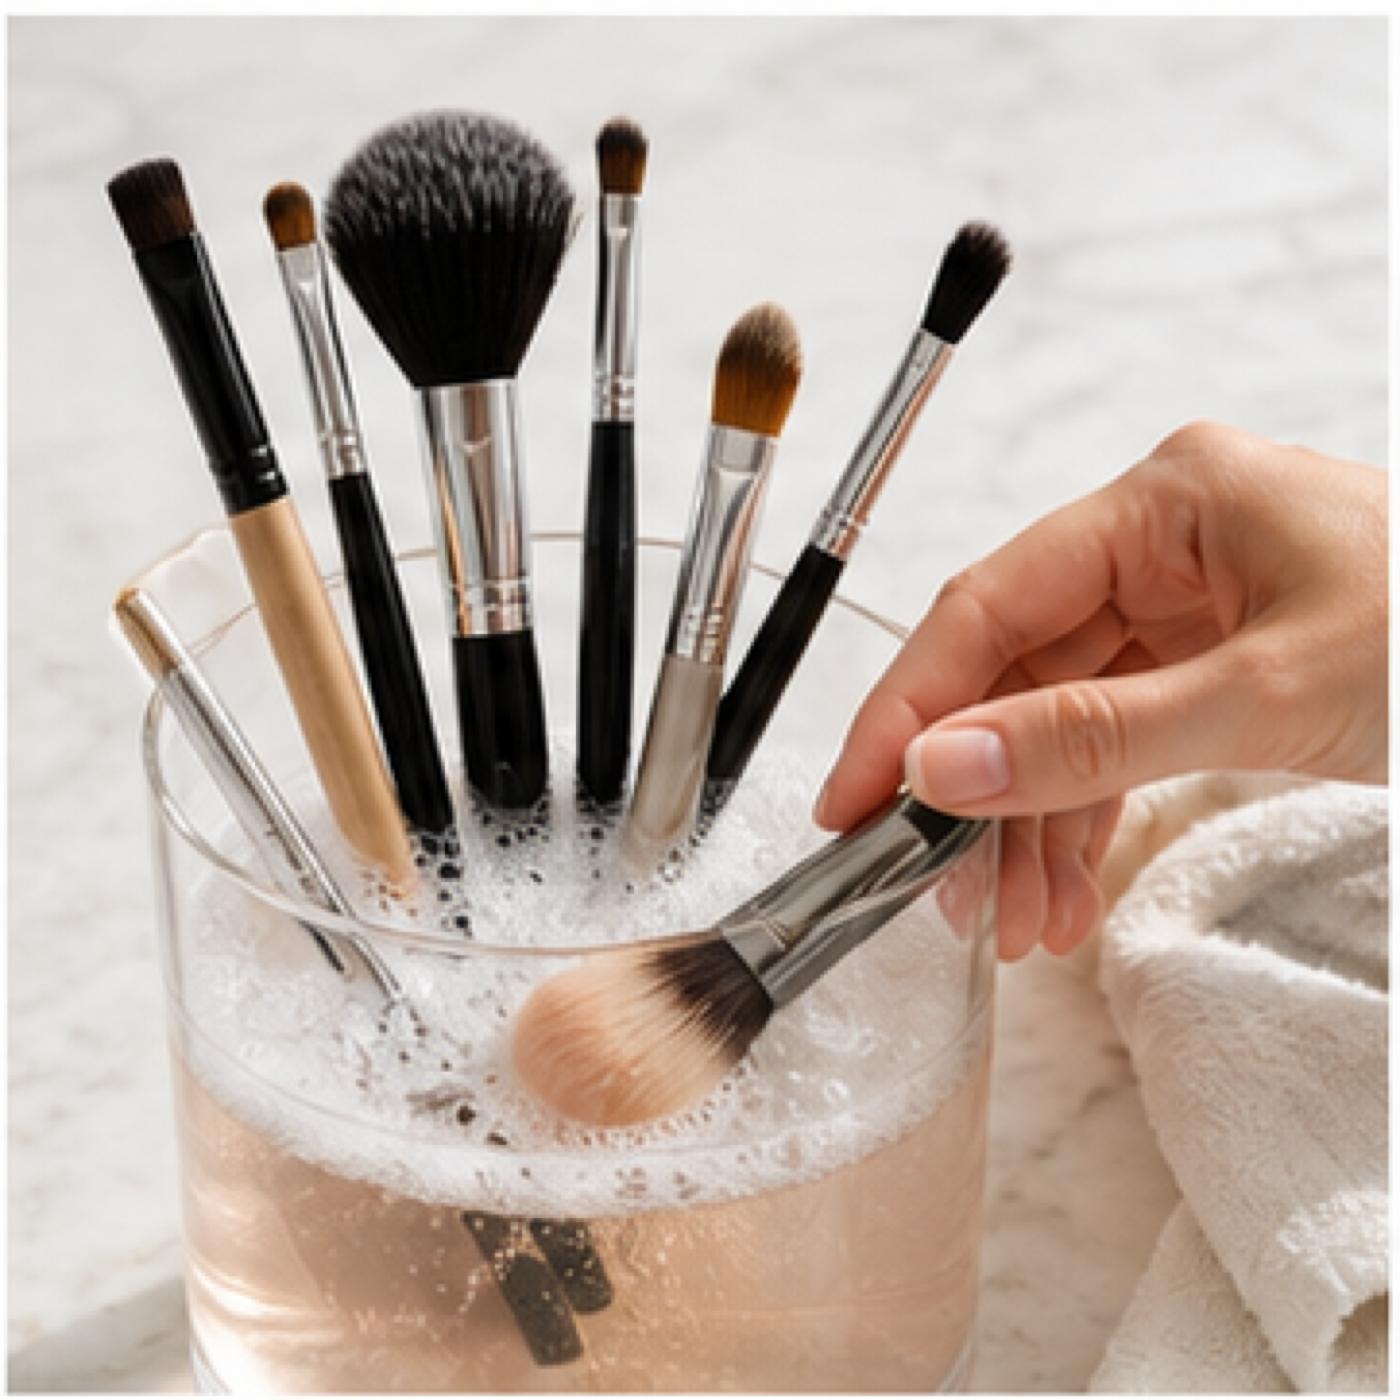
Turn on your tap to a gentle stream of lukewarm water. Hold your makeup brush so the bristles are pointing down into the stream. Allow the water to saturate the bristles completely. Avoid letting the water run up past the bristles onto the ferrule or the wooden handle. This downward angle is crucial to prevent water from seeping into the base and dissolving the glue that holds your brush together.
Apply a Small Amount of Cleanser
Squeeze a pea-sized amount of your chosen cleanser into the palm of your hand, onto a small plate, or directly onto your silicone cleaning mat. You don't need a large amount; a little goes a long way. If you are cleaning several brushes, you can add more as needed, but starting small prevents wasting product and creating excessive suds that are difficult to rinse out.
Lather and Swirl the Brush
Take your wet brush and gently swirl the bristles into the cleanser in your palm or on your mat. Use circular motions to work the soap into the centre of the brush head. You will quickly see makeup residue, foundation, and pigment begin to colour the lather. Continue swirling for about 30 seconds, applying gentle pressure to ensure the cleanser reaches every bristle without bending them out of shape.
Rinse Until the Water Runs Clear
Place the brush back under the lukewarm running water, again keeping the bristles pointing downwards. Gently squeeze the bristles from the base towards the tip to help push out the soap and makeup residue. Continue this process until you can squeeze the brush and the water running from it is completely clear. This is the most important part of the rinsing stage. Any soap left behind can leave bristles stiff and cause skin irritation.
Repeat if Necessary
For brushes that are heavily soiled with long-wear foundation, concealer, or dark pigments, a single wash may not be enough. After the first rinse, inspect the bristles. If you can still see traces of makeup deep within the brush, or if the lather was particularly dense and colourful, repeat steps 2-4. A second, quick wash will ensure every last bit of product is removed.
Gently Squeeze Out Excess Water
Once the brush is thoroughly rinsed, turn off the tap. Gently squeeze the bristles with your fingers to remove as much water as possible. Then, take your clean, dry towel and carefully press and blot the bristles. You can fold the towel over the brush head and squeeze lightly. The goal is to remove excess moisture to speed up drying time and prevent water from running back into the ferrule.
Reshape the Bristles
While the bristles are still damp, use your fingers to gently smooth and reshape them back into their original form. This is especially important for eyeshadow blending brushes, fan brushes, and angled liner brushes. A well-shaped brush will dry correctly and perform better. If you have them, you can slip a mesh brush guard over the head to help it maintain its shape perfectly as it dries.
Air Dry Correctly for 6-12 Hours
The final step is to let your brushes air dry completely. The best method is to lay them flat on your clean towel, with the bristle heads hanging over the edge of a counter or table. This allows for 360-degree air circulation and ensures gravity keeps any remaining water away from the handle and ferrule. Alternatively, you can use a purpose-built brush drying rack that holds them upside down. Never stand brushes upright in a cup to dry, as this forces water directly into the glue.
Quick Reference
| Brush Type | Recommended Cleaning Frequency | Why |
|---|---|---|
| Foundation & Concealer Brushes | At least once per week | Used with liquid/cream products that harbour bacteria quickly and can cause breakouts. |
| Eyeshadow & Eyeliner Brushes | Every 2-3 uses, or weekly | Prevents muddy colour mixing and protects the sensitive eye area from infection. |
| Powder, Blush & Bronzer Brushes | Every 1-2 weeks | Less prone to bacterial growth than liquid product brushes, but still accumulate oil and dead skin cells. |
| Makeup Sponges | After every single use | Their porous texture makes them a prime breeding ground for bacteria when left damp. |
Common Problems When You Clean Makeup Brushes
Even with a straightforward process, you might encounter a few issues. Here’s how to troubleshoot the most common ones.
Problem: My brushes feel stiff or scratchy after drying.
This is almost always caused by soap residue left in the bristles. Even a tiny amount of dried cleanser can make the fibres hard and brittle. The fix is simple: re-wash the brush, but this time, pay extra attention to the rinsing step. Rinse for twice as long as you think you need to, gently squeezing the bristles under the running water until you're absolutely certain all the soap is gone.
Problem: The bristles are frayed or have lost their shape.
This happens for two main reasons: being too rough during the washing stage or letting the brush dry in the wrong position. To fix a misshapen brush, simply re-wet the bristles, carefully reshape them with your fingers, and dry them properly this time, preferably with the bristles hanging over an edge. To prevent it, always use gentle swirling motions and never scrub the bristles harshly.
Problem: My brushes are shedding bristles.
A few lost bristles can be normal for new brushes, but excessive shedding is a sign of a problem. The most likely cause is water seeping into the ferrule and weakening the glue. Unfortunately, this damage is often permanent. The best solution is prevention: always keep the brush angled downwards when washing. If it's an old or inexpensive brush, it may simply be reaching the end of its life.
Problem: The brushes are taking forever to dry.
Dense brushes, like kabukis, naturally take longer to dry. However, if all your brushes are still damp after 24 hours, the cause could be high humidity or not removing enough water initially. Ensure you gently squeeze out as much water as possible with a towel before laying them out. Also, make sure they are in a well-ventilated area, not a steamy bathroom. Proper air circulation is key.
Advanced Tips for Cleaning Makeup Brushes
Once you've mastered the basic wash, these techniques can help you care for your collection like a professional.
Deep Cleaning vs. Spot Cleaning
What we've covered is a deep clean, which should be done regularly. For daily maintenance, especially for eyeshadow brushes, you can spot clean. Use a daily brush spray cleaner on a paper towel and swirl the brush on the damp area until the pigment is gone. The brush will dry in a minute or two, ready for immediate reuse. This is perfect for switching between eyeshadow colours without needing to do a full wash.
Caring for Natural vs. Synthetic Bristles
Different bristle materials benefit from slightly different care.
- Synthetic Brushes: (Nylon, taklon). These are durable and non-porous, making them ideal for liquid and cream products. They are resilient and can be cleaned effectively with gentle soap or a dedicated cleanser.
- Natural Hair Brushes: (Goat, squirrel, sable). These bristles are more porous and delicate, much like human hair. They excel at picking up and blending powder products. For these, baby shampoo is an excellent choice as it's very gentle. You can even add a tiny drop of hair conditioner to the final rinse water to keep the bristles extra soft, but ensure you rinse it out completely.
How to Clean Makeup Sponges
Makeup sponges require a different technique. Because they absorb so much product, they need to be cleaned after every use. To clean a sponge, first saturate it with water. Squeeze a small amount of cleanser directly onto the sponge and begin to knead and squeeze it repeatedly. You’ll see the foundation leech out into the water. Continue rinsing and squeezing under running water until the water runs completely clear. Squeeze out all excess water and let it dry in an open, well-ventilated area.
How To Clean Makeup Brushes FAQ
Can I use washing-up liquid to clean makeup brushes?
Is it okay to soak my brushes in water?
How do I know if my brushes are fully dry?
Can I sanitise my brushes?
Final Checklist for Cleaning Makeup Brushes
Use this checklist to ensure a perfect clean every time, protecting your skin and your tools.
- Gather supplies: Gentle soap, a towel, and a place to dry.
- Wet bristles only, always pointing the brush head down.
- Work a small amount of cleanser into the bristles using gentle swirling motions.
- Rinse under lukewarm water until it runs 100% clear.
- Gently squeeze out excess water with a clean towel.
- Reshape the bristle head to its original form while damp.
- Lay flat to dry with bristles hanging over an edge for maximum air flow.
- Check that brushes are completely dry to the core before storing or using.