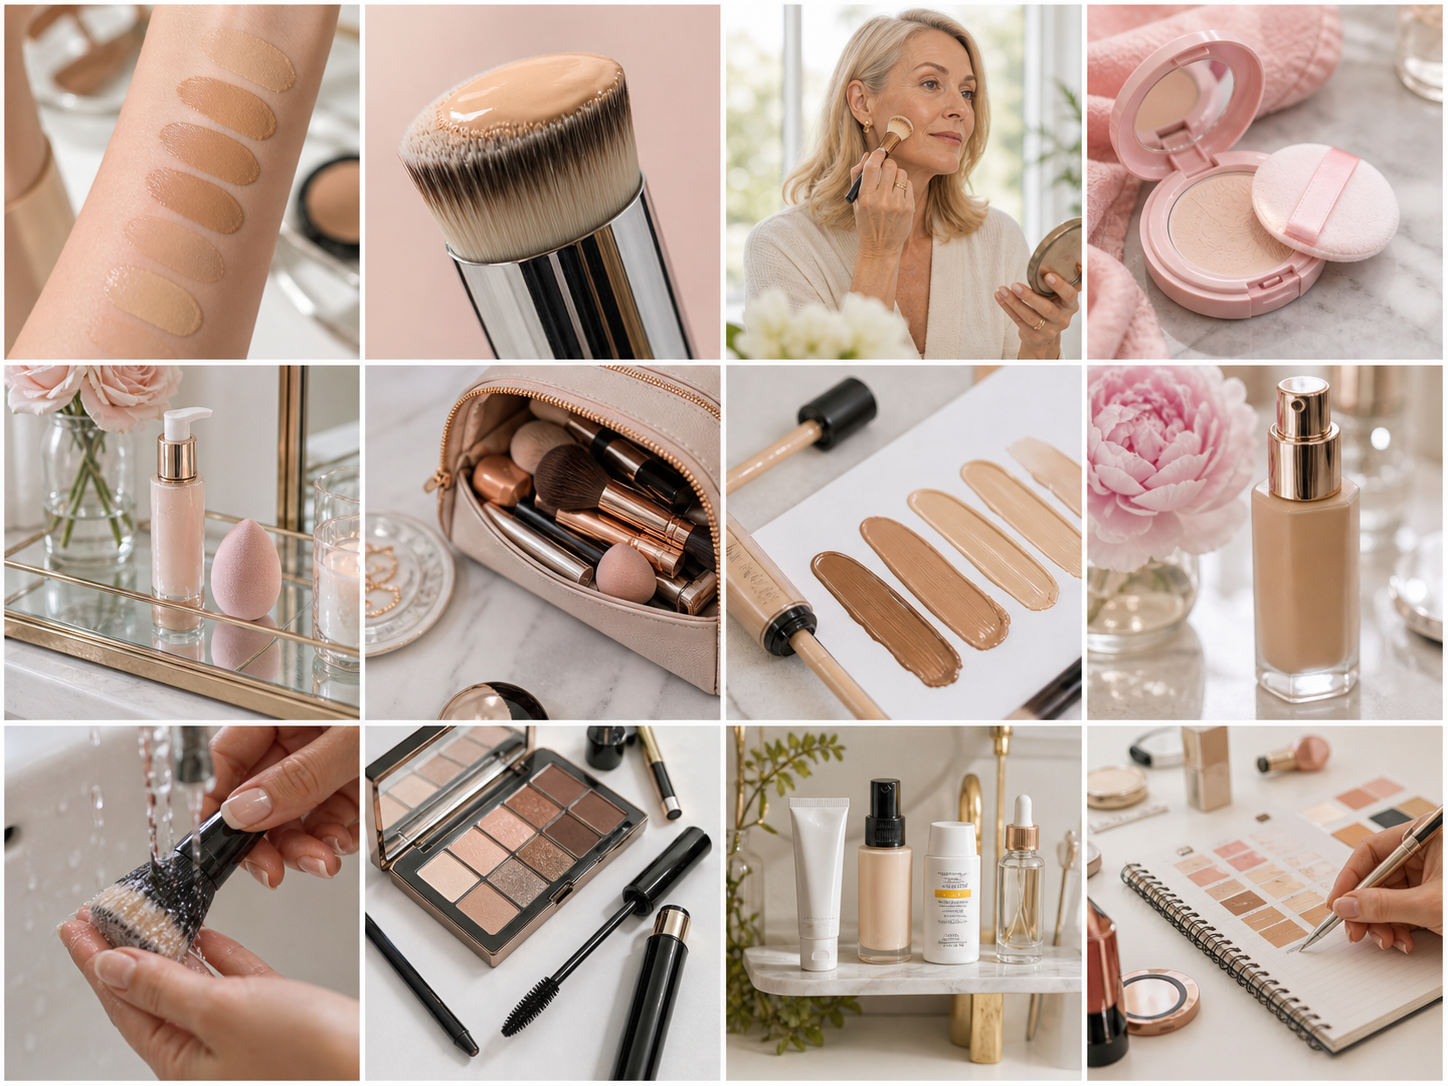
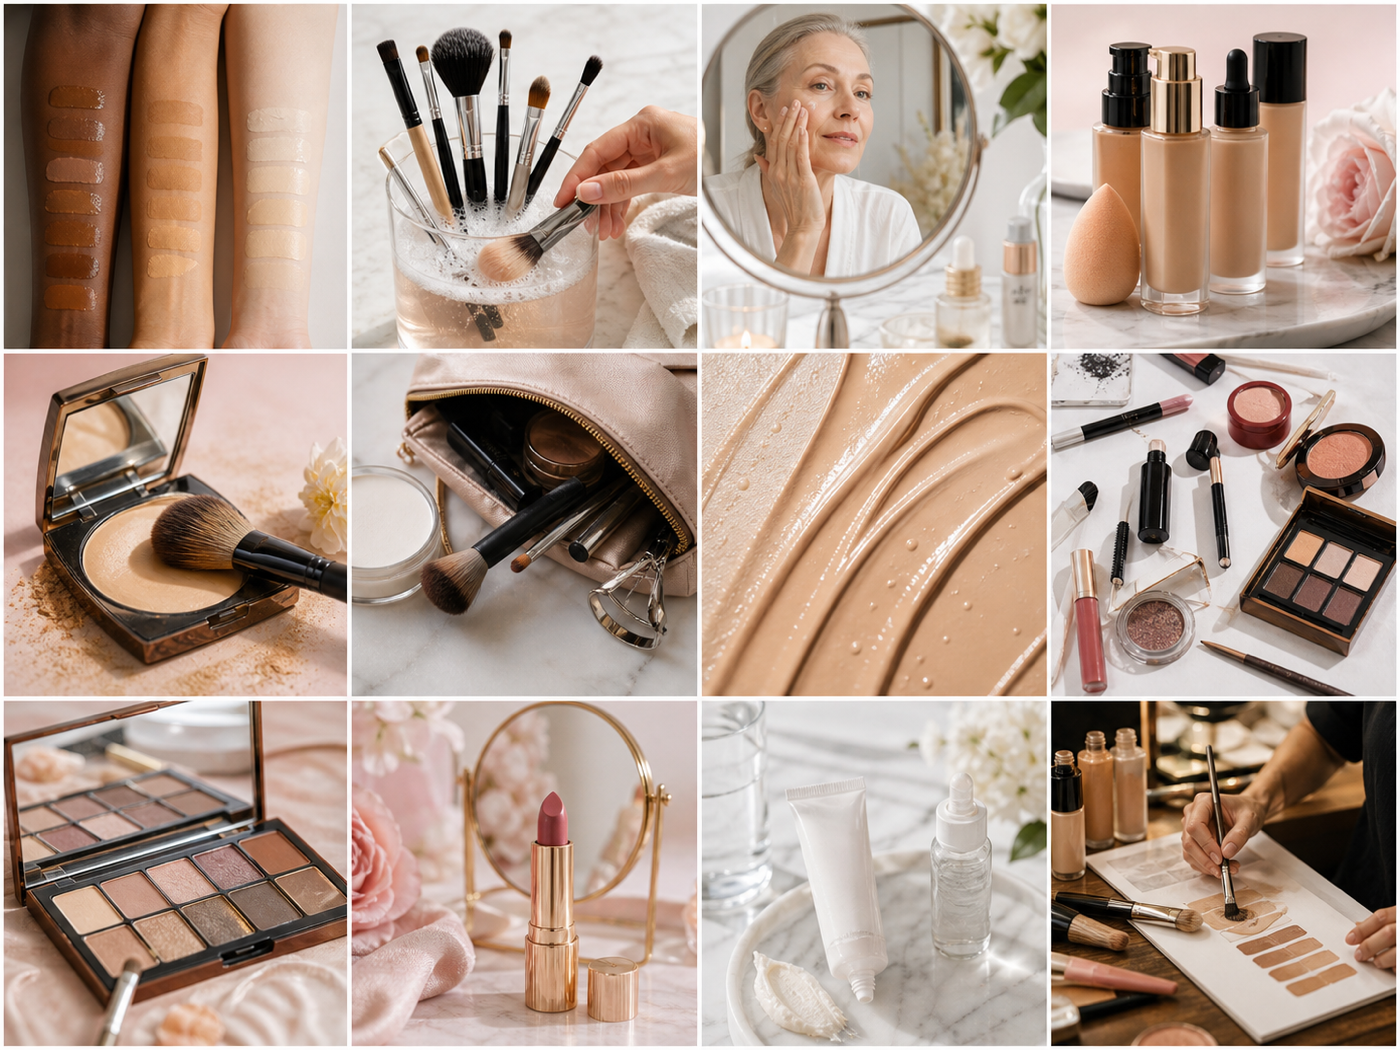
Feeling overwhelmed by a messy makeup bag or a cluttered dressing table? This guide provides a clear, step-by-step process for organising your entire makeup collection. We'll show you how to declutter old products, clean your bags and tools properly, and create sensible kits for everyday use, at-home storage, and travel. Following these steps will save you time in the morning, help your products last longer, and make finding what you need simple and stress-free.
Fast Answer
- Key Action: Sort all makeup by category and check expiry dates.
- Main Goal: Create separate, organised kits for home, daily carry, and travel.
- Top Tip: Regularly clean bags and tools to prevent bacteria build-up.
Before You Start
The first step to a beautifully organised collection is preparation. Gathering everything you need beforehand makes the process smooth and efficient. You'll be sorting, cleaning, and making decisions, so having your tools ready will prevent interruptions.
What You Need
- All of your makeup products
- All of your makeup bags, pouches, and organisers
- A clean, flat surface (like a table covered with an old towel)
- A rubbish bin or bag for discarded items
- Makeup brush cleaner or gentle soap (like baby shampoo) and water
- Rubbing alcohol in a spray bottle (optional, for sanitising)
- Cotton pads or paper towels
- Labels and a marker (optional, for organising)
Safety, Timing, or Context Checks
Before you begin sorting, the most critical check is for product safety. Makeup doesn't last forever, and using expired products can cause skin irritation, breakouts, or even serious eye infections.
How to Organise Your Makeup And Makeup Bags
Follow these steps to transform your makeup chaos into an organised, functional, and hygienic collection. We'll move from a full declutter to creating purposeful kits that suit your lifestyle.
Step 1: Gather and Empty Everything
Start with a clean slate. Find every single makeup item you own-from the bottom of handbags, in bathroom drawers, on your bedside table, and in your car. Pile everything onto your prepared clean surface. Next, take every makeup bag, pouch, and organiser and empty them completely. Shake them out over the bin to remove any loose powder, dirt, and debris. This step is essential because you can't organise what you can't see.
Step 2: Clean Your Bags and Tools
Now that your bags are empty, it's the perfect time to clean them. For fabric or canvas bags, check the label to see if they are machine washable. If so, wash them on a gentle cycle and let them air dry completely. For plastic or vinyl-lined bags, wipe them down inside and out with a damp cloth and a bit of soap or an anti-bacterial wipe. Let them dry fully before putting anything back inside.
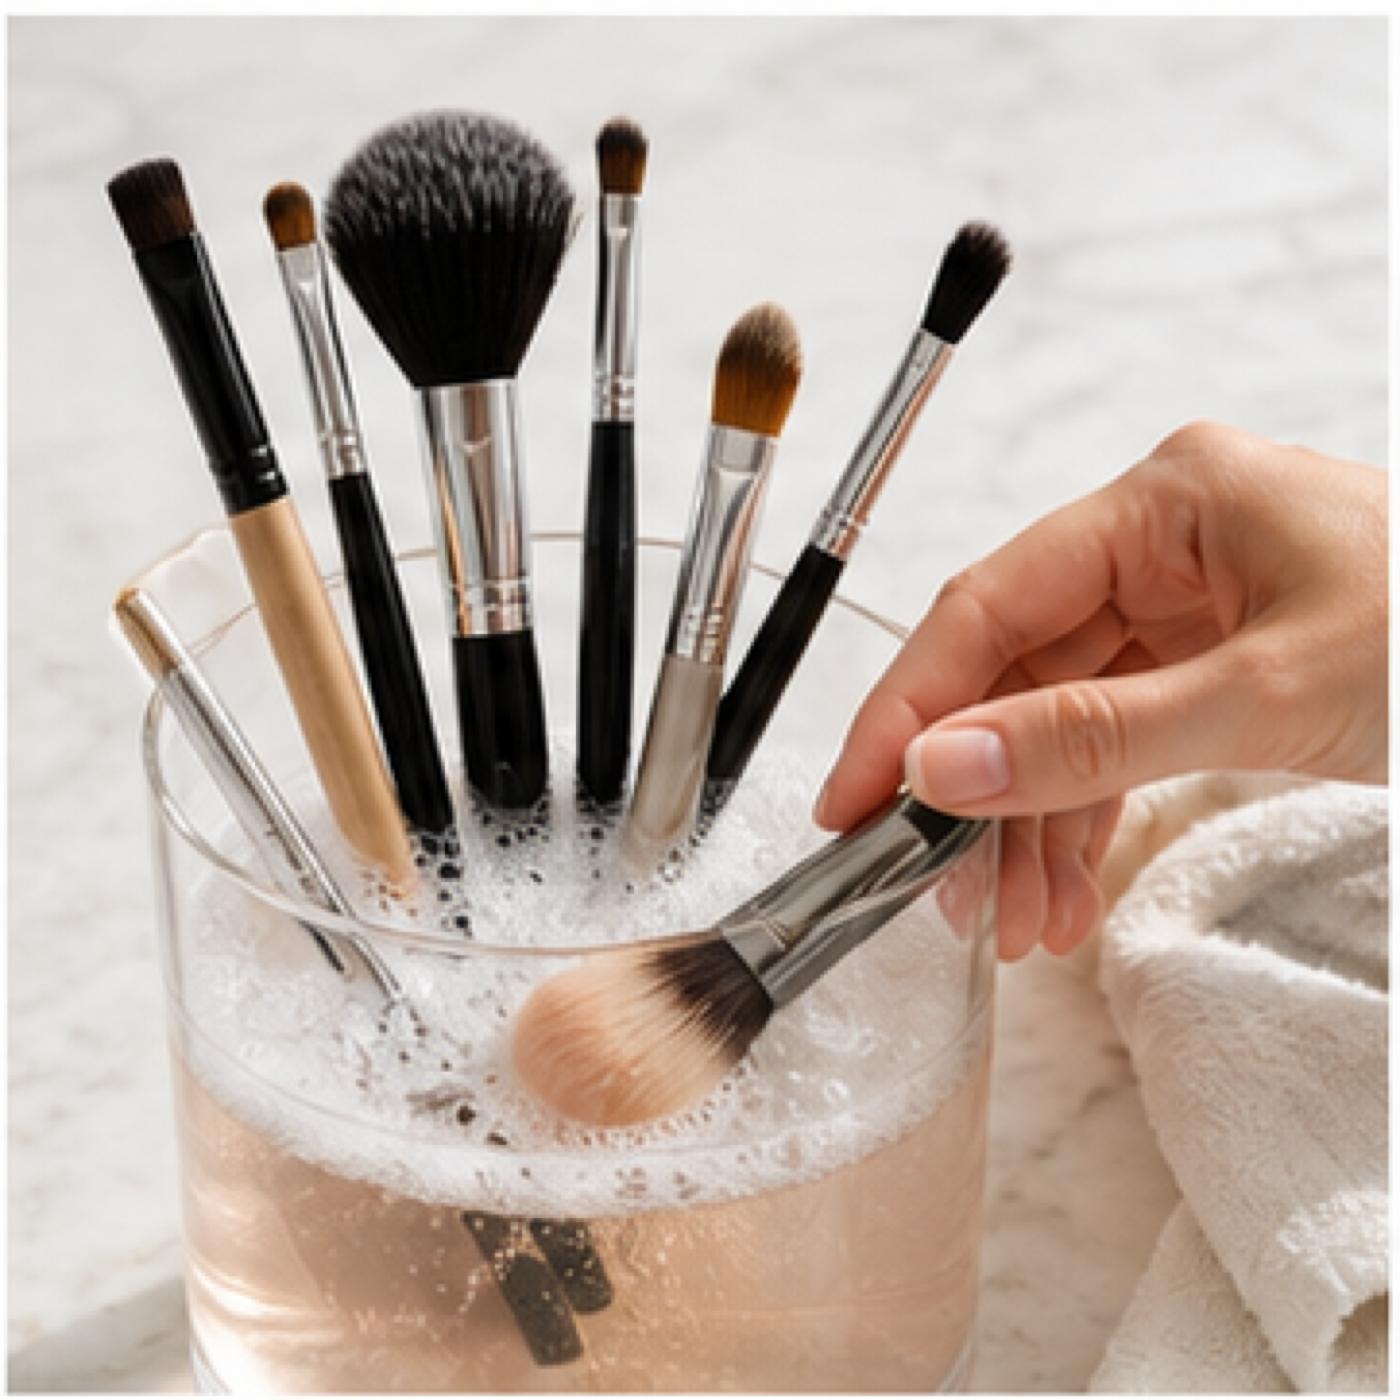
Next, clean your tools. Wash your makeup brushes with a dedicated brush cleanser or a gentle baby shampoo until the water runs clear. Reshape the bristles and lay them flat on a clean towel to dry. Wash makeup sponges and allow them to air dry as well. Clean tools are vital for good hygiene and better makeup application.
Step 3: Declutter and Check Expiry Dates
This is the most important part of the process. Go through every single item on your table and make a decision. Create three piles: Keep, Toss, and Maybe.
- Toss Pile: Immediately discard any product that is past its PAO date. Also, throw out anything that has changed in smell, colour, or consistency. Mascaras and liquid eyeliners should be replaced every 3 months regardless. Look for dried-out creams, crumbly powders, or separated liquids.
- Keep Pile: This is for products that are within their expiry date, in good condition, and that you genuinely use and love.
- Maybe Pile: This is for items you're unsure about. Perhaps it's a bold lipstick colour you never wear or a foundation that isn't quite the right shade. Put these items in a box and store them out of sight for a month. If you don't reach for them in that time, you can confidently let them go.
Be ruthless. The goal is to have a collection of products you actually use, not a museum of makeup you might use "one day."
Step 4: Categorise Your 'Keep' Pile
Now, focus on your 'Keep' pile. To make organising easier, group similar items together. This logical sorting will help you see exactly what you have and identify any duplicates. Create distinct groups for:
- Face/Base Products: Primers, foundations, concealers, setting powders, setting sprays.
- Cheek Products: Blusher, bronzer, contour, highlighter.
- Eye Products: Eyeshadow palettes, single eyeshadows, eyeliners, mascara, brow products.
- Lip Products: Lipsticks, lip glosses, lip liners, lip balms.
- Tools: Brushes, sponges, eyelash curlers, tweezers.
Laying everything out by category gives you a clear inventory. You might realise you own five nearly identical nude lipsticks or that you're running low on your favourite concealer.
Step 5: Assemble Your 'Everyday' Makeup Bag
Think about the products you reach for on a typical day. These are your holy grails, the items you'd need for a quick 5-minute face. Select these core products from your categorised piles and place them in a small, easily accessible makeup bag. This is the bag you'll keep in your handbag or on your desk for daily use and touch-ups.
A typical everyday kit might include: a concealer, a brow product, mascara, a neutral lipstick or balm, and a pressed powder or blotting papers. The goal is convenience. By separating your daily essentials, you won't have to rummage through your entire collection every morning.
Step 6: Set Up Your 'At-Home' Collection
The rest of your 'Keep' pile forms your main collection. This is the makeup you use less frequently-for special occasions, experimenting with new looks, or simply your back-up products. The best way to store this is on a vanity, in a set of drawers, or on a shelf where you get ready.
Use organisers to keep things tidy and visible. Clear acrylic drawers are excellent for seeing everything at a glance. Use drawer dividers to separate your categories. Store palettes flat to prevent them from opening, and stand lipsticks and concealers upright so you can easily read the shade names. Keeping your main collection organised prevents you from buying duplicates and makes it enjoyable to 'shop your stash'.
Step 7: Prepare a Dedicated Travel Bag
Avoid last-minute packing stress by creating a dedicated travel makeup bag. This bag should be slightly larger than your everyday kit but curated to be efficient. Focus on multi-use products like cream blushes that can be used on lips, or bronzers that can double as eyeshadow.
Consider decanting liquids like foundation into smaller, travel-sized pots or bottles to save space and prevent leaks. To protect fragile powder products like eyeshadows and highlighters from shattering, place a flat cotton pad inside the compact before closing it. This provides a cushion against bumps. Keep this bag partially packed with travel-sized duplicates of your essentials so you're always ready for a trip.
Step 8: Establish a Maintenance Routine
Organisation isn't a one-time task; it's an ongoing habit. To prevent your collection from descending back into chaos, establish a simple maintenance routine. Set aside 10-15 minutes once a week or every two weeks to put away any stray items, wipe down messy products, and give your everyday brushes a quick clean. Once every season (e.g., every 3 months), do a quick check for any products that are nearing their expiry date. This small, consistent effort will keep your makeup and makeup bags in perfect order.
Quick Reference
| Situation | Use this | Why |
|---|---|---|
| Daily commute touch-ups | A small pouch with essentials (powder, lipstick, concealer) | Keeps it light and easy to find in your handbag. |
| Weekend trip or holiday | A medium bag with multi-use products & travel sizes | Saves valuable luggage space and covers all basics. |
| Broken powder compact | A few drops of rubbing alcohol and a coin wrapped in a tissue | Represses the powder to make it solid and usable again. |
| Storing liquid foundation | Stored upright in a cool, dark drawer | Prevents leaks, product separation, and degradation from heat/light. |
Common Problems When You Organise Makeup
Even with the best intentions, you might run into a few common issues. Here’s how to troubleshoot them.
- Problem: Products are always leaking in my bag.
Solution: Double-check that all caps and lids are screwed on tightly. For extra security, place liquid products like foundation or setting spray in a small, sealable plastic bag before putting them in your main makeup bag. Better yet, consider switching to solid stick-formulations for travel. - Problem: My powder eyeshadows or blushers keep breaking.
Solution: This is usually caused by the bag being dropped or jostled. As a preventative measure, always pack a flat cotton pad inside the compact lid for cushioning. If a powder does break, you can fix it by crushing the remaining product into a fine powder, adding a few drops of rubbing alcohol to create a paste, and pressing it flat with a coin wrapped in a paper towel. Let it dry overnight, and it will be solid again. - Problem: I can never find what I'm looking for.
Solution: Your bag or storage system might not be functional for you. Opt for makeup bags that have multiple compartments or pockets. Alternatively, use smaller pouches within a larger bag to separate your items by category (e.g., a lip pouch, an eye pouch). A clear or transparent makeup bag can also be a game-changer. - Problem: My makeup seems to go bad before its expiry date.
Solution: The culprit is likely improper storage. Heat, humidity, and direct sunlight can degrade makeup formulas quickly. Avoid storing your main collection in a steamy bathroom. A bedroom drawer or a cabinet away from windows is a much better environment.
Advanced Tips for Makeup And Makeup Bags
Once you've mastered the basics, these advanced strategies can take your organisation to the next level.
- Create a Capsule Makeup Collection: Embrace a minimalist approach. Instead of having dozens of options, curate a small, versatile "capsule" of high-quality products that all work well together. This simplifies your routine and ensures you use and love every item you own.
- Depot Your Products: For those with a large collection of single eyeshadows or blushes, consider "depotting" them. This involves carefully removing the metal pan of product from its bulky plastic packaging and placing it into a customisable magnetic palette (like a Z Palette). This saves an enormous amount of space and puts all your colour options in one place.
- Use a Digital Inventory: If you're a true makeup enthusiast, tracking your collection digitally can be helpful. Use a simple spreadsheet or a dedicated app to log your products, purchase dates, and expiry dates. This helps prevent over-buying and reminds you to use things up before they go bad.
- Seasonal Rotation: Just as you might rotate your wardrobe, consider rotating your makeup. In the summer, bring your lighter foundations, bronzers, and coral lipsticks to the front. In winter, swap in your richer moisturisers and deeper berry shades. This keeps your daily routine fresh and ensures all your products get some use.
Makeup And Makeup Bags FAQ
How often should I clean my makeup bag?
How often should I replace my makeup bag?
What is the best material for a makeup bag?
Can I fix a broken lipstick?
Final Checklist for Makeup And Makeup Bags
Before you finish, run through this final checklist to ensure your makeup organisation project is complete and will be easy to maintain.
- All makeup has been gathered and sorted.
- Bags, pouches, and tools are completely clean and dry.
- All expired, broken, or unwanted products have been discarded.
- Remaining products are grouped into logical categories.
- A compact, convenient "everyday" kit has been assembled.
- The main "at-home" collection is stored neatly and accessibly.
- A dedicated travel kit is packed or planned out.
- A simple weekly or monthly cleaning routine has been scheduled.