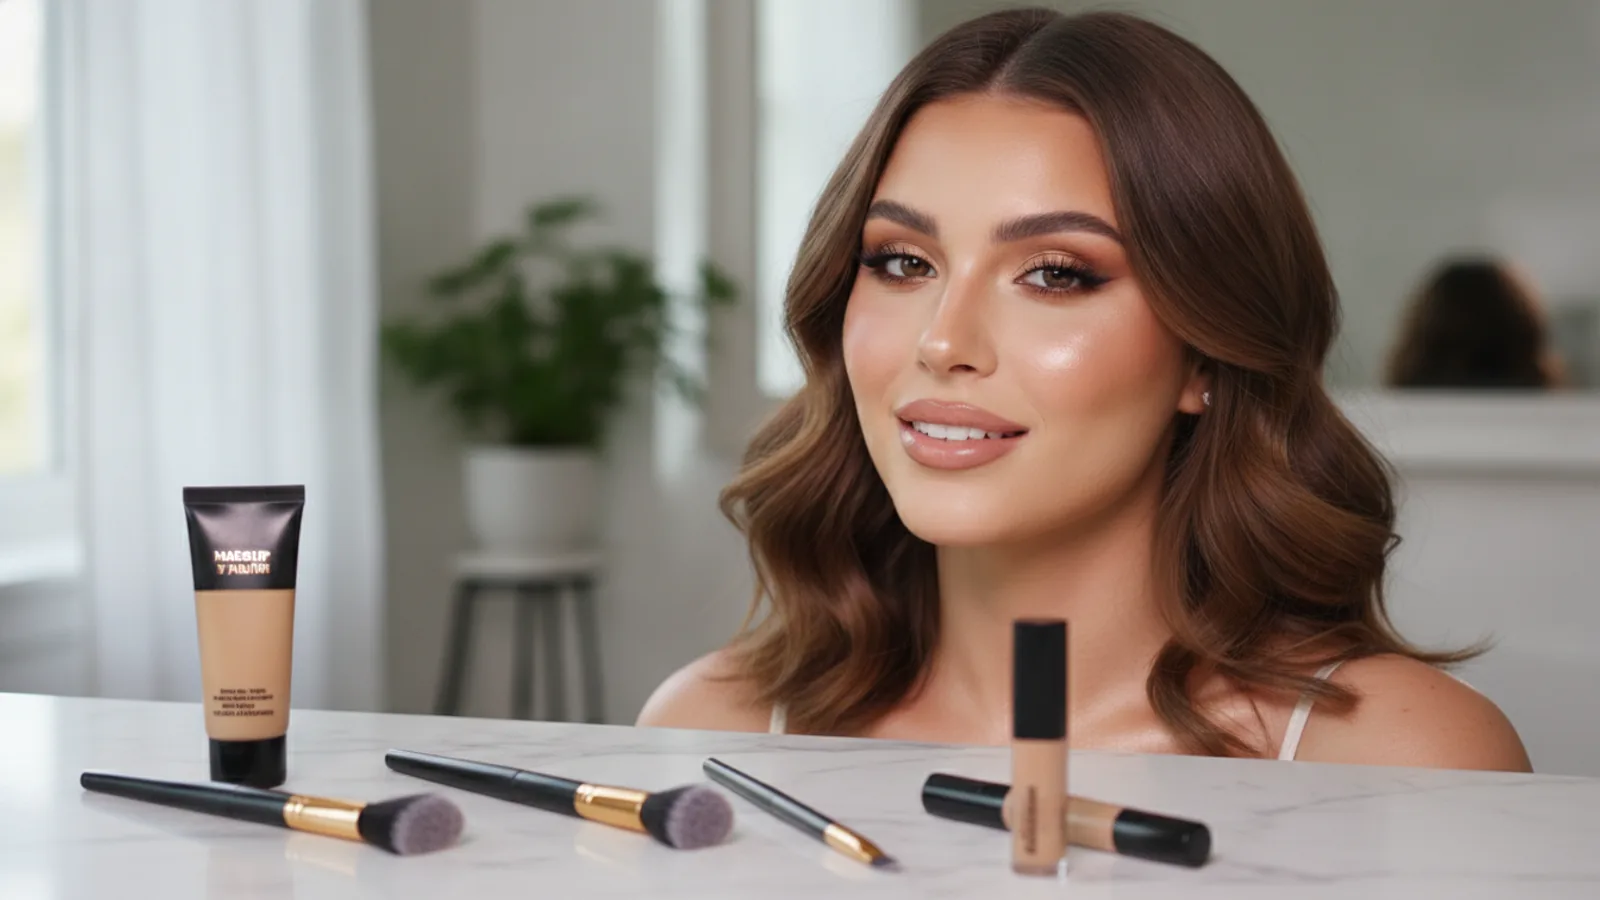
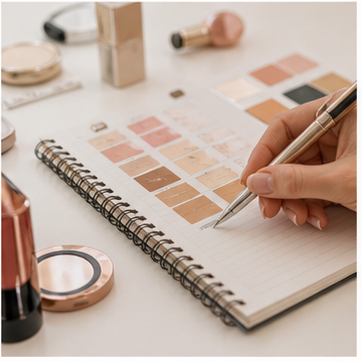
This guide teaches you how to master the "Makeup By Mario" look, a soft glam style popularised by celebrity makeup artist Mario Dedivanovic. Known for creating a flawless, sculpted, and radiant finish, this technique is perfect for anyone wanting to elevate their makeup skills for special events or simply achieve a more polished daily look. We will walk you through each step, from skin preparation to the final touches, focusing on the signature layering techniques that define this iconic style.
Fast Answer
- Key Technique: Layering cream and powder products for a seamless, sculpted, and long-lasting finish.
- Core Principle: Enhance your natural bone structure and features rather than masking them.
- Signature Look: Soft glam with flawless-looking skin, defined contours, and bright eyes.
Before You Start
Success with this technique starts with the right preparation and tools. The goal is to create a seamless look, which requires products that work well together and brushes that blend effectively. Gather your materials before you begin.
- Skincare: A gentle cleanser, hydrating moisturiser, and a primer suited to your skin type.
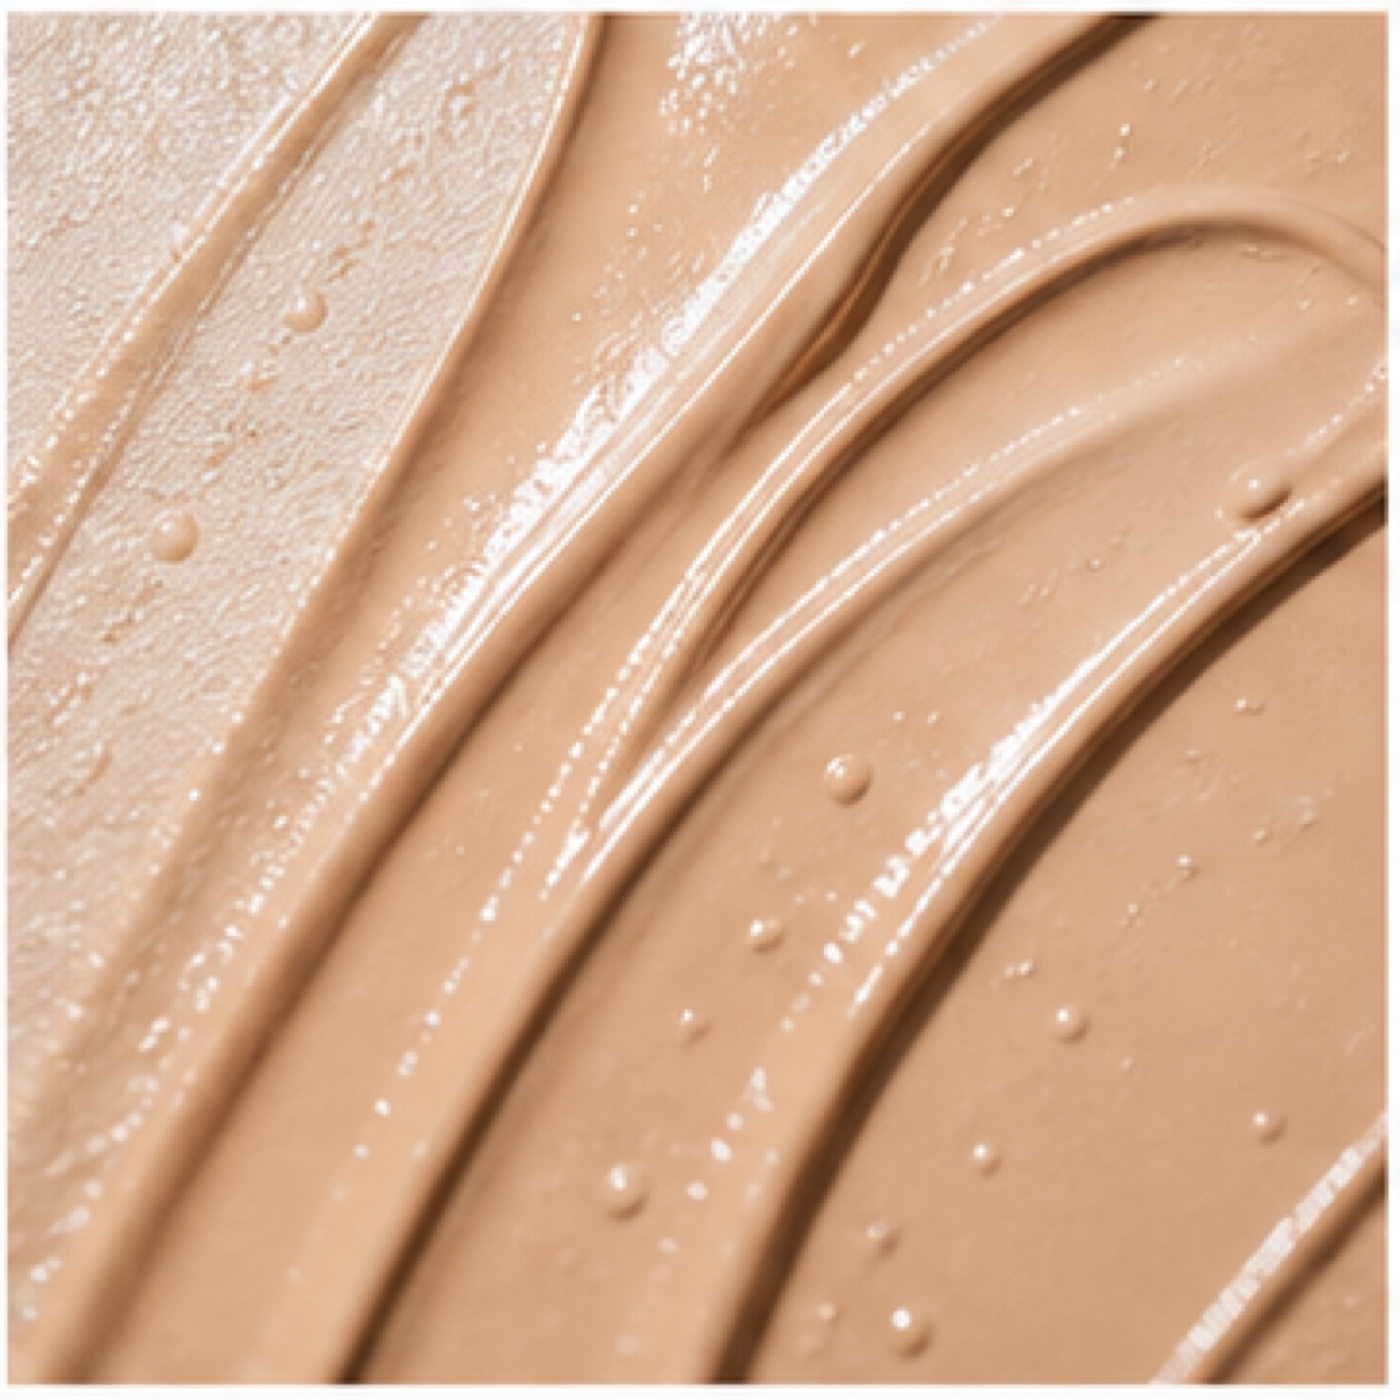
- Base Products: A medium-coverage, luminous foundation; a creamy concealer (1-2 shades lighter than your foundation); and a fine, translucent setting powder.
- Sculpting Products: A cream contour stick or palette, a cream blush, a powder bronzer, and a powder blush.
- Eye & Brow Products: A neutral eyeshadow palette with both matte and shimmer shades, a dark brown or black eyeliner, mascara, and a brow pencil or pomade.
- Lip Products: A neutral lip liner, a creamy lipstick, and a clear or nude lip gloss.
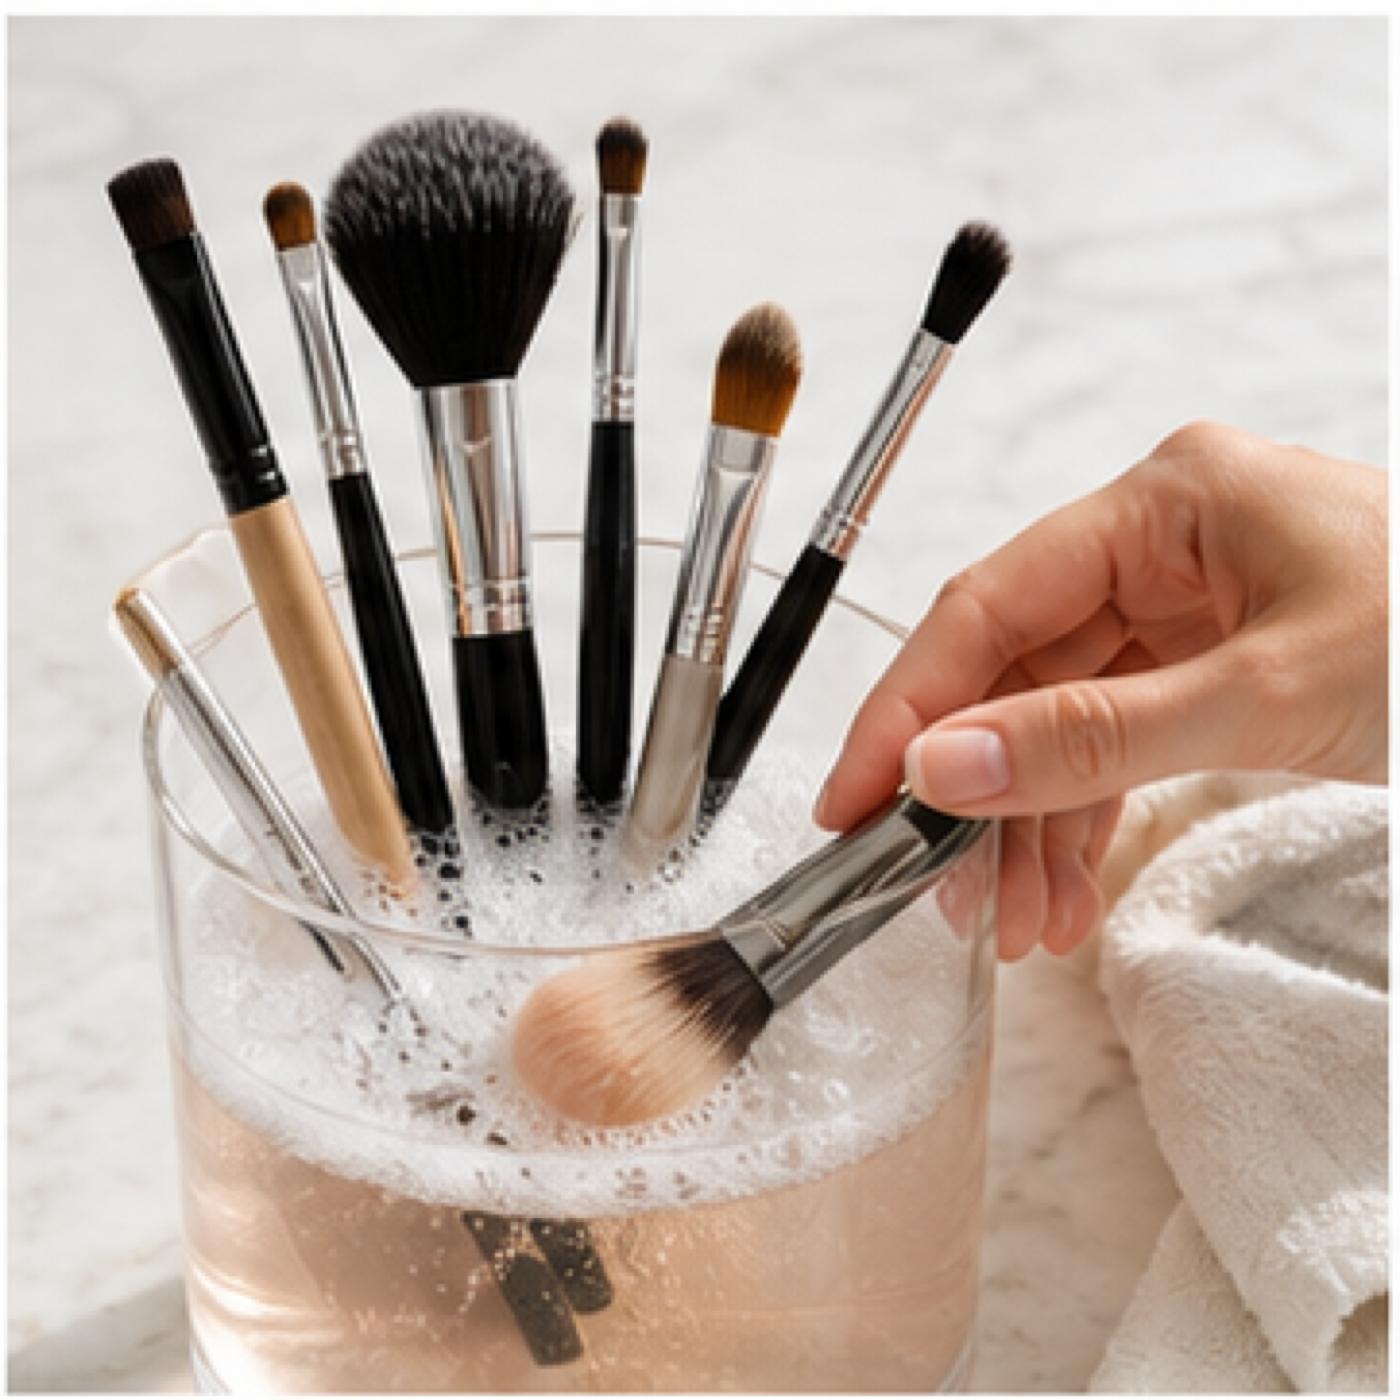
- Tools: A set of quality makeup brushes (for foundation, concealer, powder, contour, blush, and eyeshadow), and a damp makeup sponge.
Step-by-Step Instructions
Prepare the Canvas for a Flawless Base
The Makeup By Mario technique is all about healthy, glowing skin. A beautiful makeup application always begins with good skin preparation. Start by cleansing your face thoroughly to remove any dirt or oil. Follow up with a hydrating moisturiser, massaging it into the skin to boost circulation and create a plump surface. Allow the moisturiser to fully absorb for at least five minutes.
Once your skin is hydrated, apply a primer. If you have oily skin, a mattifying primer in the T-zone can help control shine. If you have dry skin, a hydrating or illuminating primer will enhance the glow. Apply a thin, even layer to create a smooth canvas for your foundation.
Apply Foundation and Concealer Strategically
The goal for the base is to even out your skin tone without looking heavy. Apply a small amount of your luminous foundation to the back of your hand. Using a damp makeup sponge or a foundation brush, lightly stipple the product onto the centre of your face and blend outwards. Build coverage slowly and only in areas where you need it, like around the nose or on any blemishes.
Next, apply concealer. Instead of drawing large triangles, place small dots of concealer on the inner and outer corners of your under-eye area. This creates a lifted effect with less product. Add a little to the sides of your nose, the centre of your forehead, and on your chin to brighten the high points of your face. Blend gently with your damp sponge.
Create Dimension with Cream Contour
This is a signature step in the Makeup By Mario method. Using a cream contour stick, draw a soft line just above the natural hollows of your cheeks, along your jawline, and on your temples near the hairline. For the nose, draw two thin, parallel lines down the sides. The key is to be precise but not heavy-handed.
Blend the contour immediately using a dense brush or your makeup sponge. For the cheekbones, always blend upwards and outwards towards your ear. This lifts the face. For the jawline, blend downwards towards your neck. For the nose, use a small brush or the edge of your sponge to soften the lines without spreading them too wide.
Apply Cream Blush for a Natural Glow
Cream blush provides a natural, lit-from-within flush that is essential to this look. Choose a peachy or pink shade that complements your skin tone. Smile gently to locate the apples of your cheeks. Apply a small amount of the cream blush directly to the apples and blend it upwards and back, towards your temples. This placement helps to lift the face and seamlessly merges the blush with your contour.
You can use your fingers, a sponge, or a stippling brush to blend. The warmth from your fingers can help the product melt beautifully into the skin.
Set Your Base with Translucent Powder
Setting your makeup is crucial for longevity, but the Mario technique avoids a heavy, matte look. The key is to be strategic. Using a fluffy powder brush or a powder puff, take a small amount of translucent setting powder and tap off the excess. Lightly press the powder onto the areas where you applied concealer and anywhere you tend to get oily, such as your T-zone (forehead, nose, and chin).
Avoid applying a thick layer of powder all over your face, as this can dull the luminous finish you created with your base products. The goal is to set the makeup and prevent creasing while maintaining a skin-like radiance on the high points of the face, like the cheekbones.
Layer Powder Bronzer and Blush for Longevity
Layering powders over creams is the secret to a multi-dimensional and long-wearing look. Take a large, fluffy brush and a powder bronzer. Lightly sweep it over the same areas where you applied the cream contour-your temples, cheekbones, and jawline. This sets the cream product and adds an extra layer of warmth and dimension.
Next, do the same with your powder blush. Using a blush brush, smile and lightly dust the powder blush over the cream blush on the apples of your cheeks. This intensifies the colour slightly and locks it in place for hours.
Create the Signature Soft Glam Eye
The Makeup By Mario eye look is typically defined, elegant, and soft. Begin by sweeping a neutral matte eyeshadow shade all over your lid and through the crease as a transition colour. Next, take a slightly deeper matte shade and focus it on the outer corner of your eye and blend it into the crease to create depth. Keep the blending soft and diffused.
For the classic touch of glam, press a soft shimmer or metallic eyeshadow onto the centre of your eyelid using your fingertip. This provides a pop of light without harsh glitter. Finish the look by applying a thin line of eyeliner as close to your upper lash line as possible to make your lashes appear fuller. Add two coats of your favourite mascara.
Shape and Define Your Lips
A perfectly defined, neutral lip completes the look. Start with a lip liner that matches your natural lip colour or is one shade deeper. Carefully line your lips, focusing on perfecting the shape of your cupid's bow. You can slightly overline the centre of your upper and lower lips for a fuller appearance, but keep the liner tight to your natural lip line at the corners of your mouth.
Fill in your lips with a creamy nude or pink lipstick. For added dimension and a plumping effect, dab a small amount of clear or nude gloss right in the centre of your bottom lip.
Quick Reference
| Situation | Use this | Why |
|---|---|---|
| Foundation looks too heavy or "cakey" | A damp makeup sponge and a finishing spray | The sponge sheers out and presses product into the skin, while the spray melts the layers together for a seamless look. |
| Contour looks muddy or patchy | Your foundation brush (with leftover product) | The remaining foundation on the brush helps to seamlessly diffuse and blend the harsh contour lines into your base. |
| Eyeshadow has fallout under your eyes | The "baking" technique | Applying a thick layer of translucent powder under the eyes first allows you to simply sweep away the powder and any fallout. |
| Makeup fades by midday | Cream-to-powder layering technique | Layering a powder product over its corresponding cream product (e.g., powder blush over cream blush) locks it in place for hours. |
Common Problems When You makeup by mario
Even with careful steps, you might run into a few common issues. Here’s how to troubleshoot them.
Problem: My contour looks like a stripe.
The cause: This usually happens from using too much product, not blending enough, or placing the contour too low on the cheek.
The fix: Take a clean, dense brush or your damp makeup sponge and gently buff the edges of the line in small, upward circles. If it’s still too harsh, use your foundation brush with its leftover product to go over the area, which will help soften the line and blend it into your base makeup.
Problem: My under-eye concealer is creasing.
The cause: The under-eye area has natural fine lines, and applying too much product or not setting it properly can lead to creasing.
The fix: Before setting with powder, always look up and gently tap out any existing creases with your ring finger. Then, immediately apply a very small amount of finely-milled translucent powder with a powder puff, pressing it gently into the skin. This locks the concealer in place before it has a chance to settle.
Problem: My skin looks dull and flat instead of luminous.
The cause: Over-powdering is the most common culprit. The goal is to set key areas, not to mattify the entire face.
The fix: Bring back the glow with a hydrating finishing spray. Hold it about 30cm from your face and mist lightly. This will help melt the powders into your skin and restore a luminous, skin-like finish. You can also strategically apply a liquid or cream highlighter to the high points of your face, like the top of your cheekbones.
Advanced Tips for makeup by mario
Once you're comfortable with the basics, try these professional techniques to take your look to the next level.
Try the "Underpainting" Technique
A technique Mario often uses, underpainting involves applying your cream contour and blush before your foundation. After your skin prep, apply your sculpting products directly to your bare skin and blend them well. Then, apply a very thin, sheer layer of foundation over the top, stippling it on with a sponge. This creates an incredibly natural, "sculpted-from-within" look where the contour and colour seem to be part of your skin itself.
The "Three-Dot" Concealer Method
For a more modern and lifted look that uses less product, try this placement trick. Instead of a large swipe of concealer, apply just three small dots: one at the very inner corner of your eye by your tear duct, one at the outer corner angled up towards your temple, and one on the side of your nostril. Blend these three dots together. This technique brightens and lifts the entire eye area effectively without the risk of looking heavy or creased.
Master Your Brush Pressure
How you hold your brush can dramatically change the application. For a sheer, diffused application (like with bronzer or setting powder), hold the brush further down the handle. This gives you less control and a lighter touch. For a more precise and intense application (like for contour or outer-corner eyeshadow), hold the brush closer to the bristles. This gives you maximum control and pigment payoff.
Makeup By Mario FAQ
What exactly is the "Makeup By Mario" technique?
Is this look suitable for mature skin?
Do I need to buy Makeup By Mario brand products to do this?
How do I choose the right contour shade?
Final Checklist for makeup by mario
- Skin is fully prepped with moisturiser and primer.
- Base is applied strategically and blended for a skin-like finish.
- Cream contour is placed correctly to sculpt and lift, not create harsh lines.
- Cream blush is blended upwards onto the apples of the cheeks.
- The T-zone and under-eyes are lightly set with translucent powder.
- Powder products are lightly layered over creams to enhance and set the look.
- Eyes are softly defined with blended eyeshadow and eyeliner.
- Lips are neatly lined and filled for a polished finish.
- A final mist of setting spray has been used to meld all layers together.