This guide provides a complete, step-by-step method for applying a full face of makeup, covering eyes, lips, and face in the correct order. It's designed for beginners who want to learn the fundamental techniques for a polished and lasting look. We will walk you through everything from preparing your skin to the final finishing touches, helping you to apply makeup with confidence and achieve beautiful results.
Fast Answer
- Application Order: Always start with skin preparation. The standard professional order is Face (primer, foundation), Brows, Eyes, Lips, and then Cheeks (blush, bronzer).
- Key Technique: Blending is crucial. Use the right tools (sponges, brushes) to blend each layer for a seamless, natural finish.
- Less is More: Start with a small amount of product and build it up in thin layers. It's much easier to add more than to take away.
Before You Start: Getting Prepared
A great makeup application starts with having the right products and tools ready to go. Think of it like cooking: having your ingredients prepped makes the whole process smoother. This ensures you can move from one step to the next without interruption. Proper preparation also includes important safety checks to protect your skin.
What You'll Need
- For Your Face: Cleanser, moisturiser, primer, foundation, concealer, setting powder, bronzer or contour powder, blush, and highlighter.
- For Your Eyes: Eyebrow pencil or powder, eyeshadow primer, eyeshadow palette, eyeliner, an eyelash curler, and mascara.
- For Your Lips: Lip balm, lip liner, and lipstick or lip gloss.
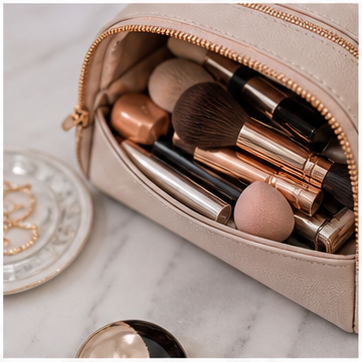
- Essential Tools: A set of makeup brushes (for foundation, powder, blush, eyeshadow), a makeup sponge, and a spoolie brush for brows.
- Finishing Touch: Setting spray to lock your look in place.
How to Apply Makeup: A Step-by-Step Guide
Follow these steps in order to build a complete and balanced makeup look. Each step lays the foundation for the next, creating a smooth and long-lasting finish.
Step 1: Prepare Your Canvas with Skincare and Primer
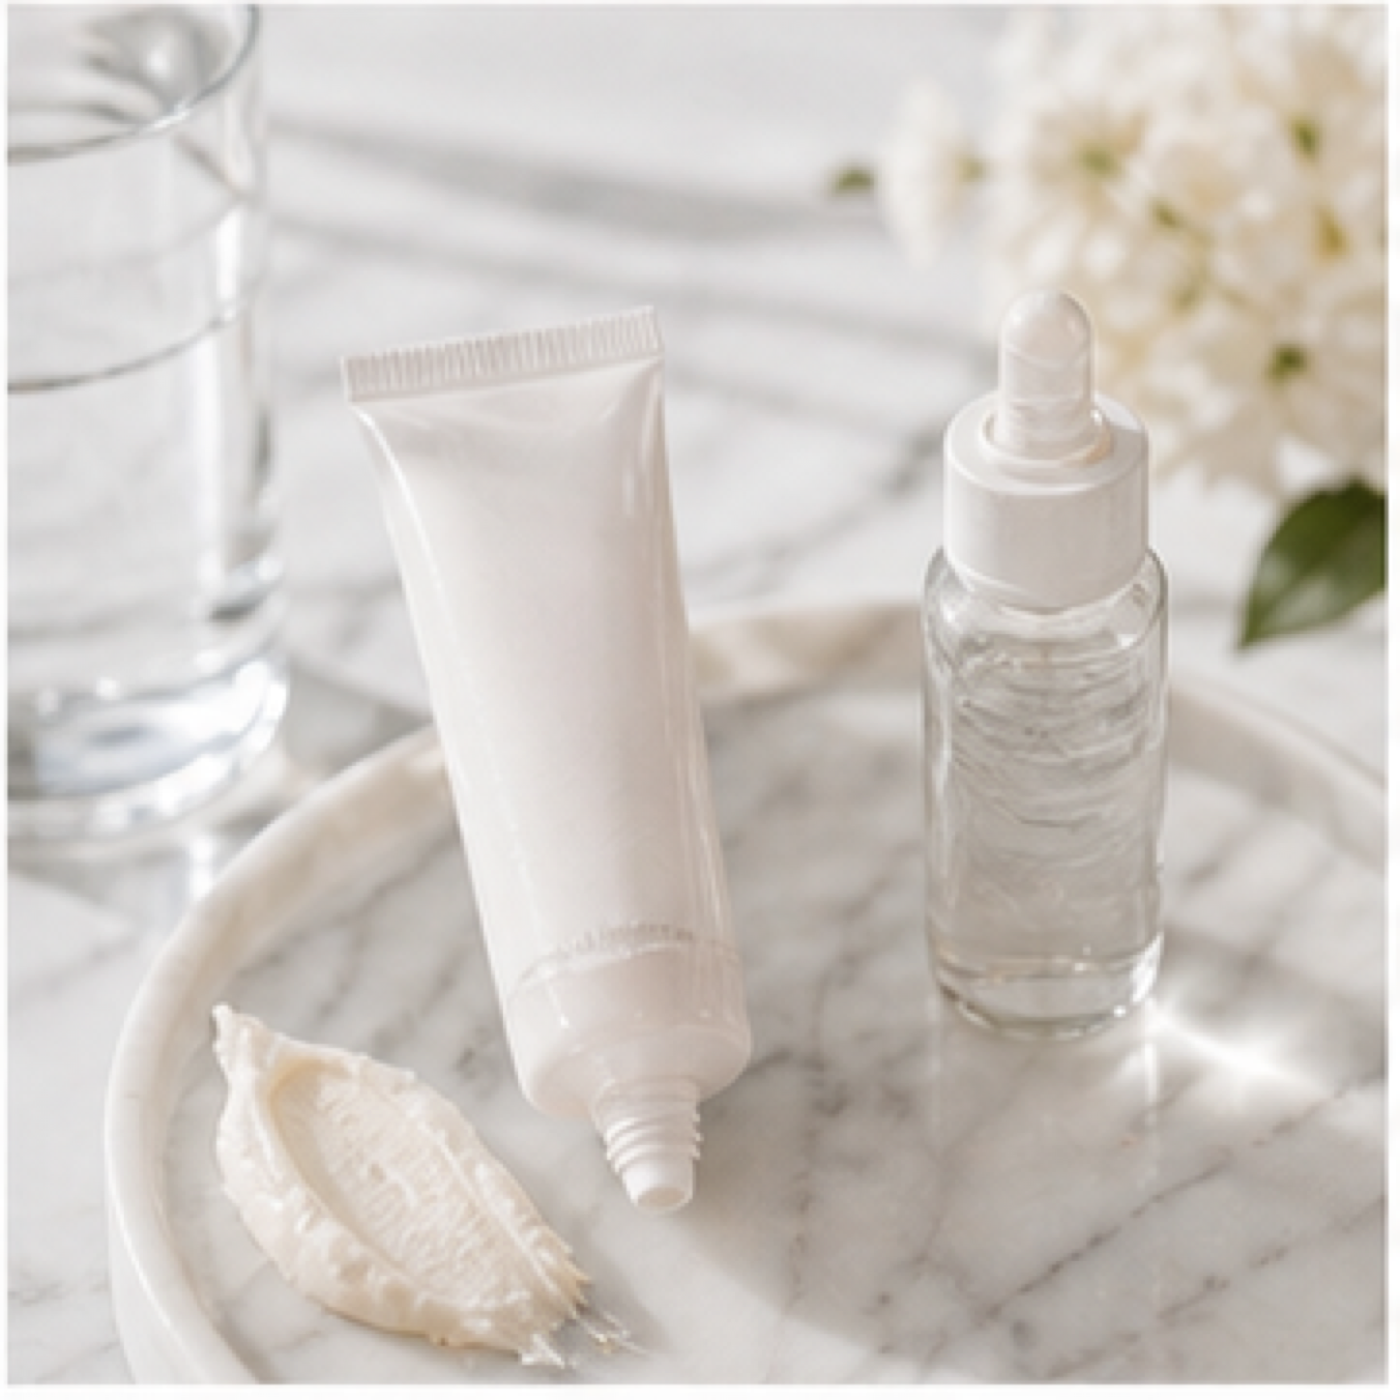
Your makeup will only look as good as the skin underneath it. Starting with a clean and hydrated base is the most important step for a flawless application. Begin by washing your face with a gentle cleanser and patting it dry. Next, apply a moisturiser suited to your skin type (e.g., a lightweight lotion for oily skin or a richer cream for dry skin). Allow it to fully absorb for at least five minutes.
Once your moisturiser has set, apply a pea-sized amount of makeup primer. Primer creates a smooth barrier between your skin and your foundation, helping to fill in fine lines, control oil, and make your makeup last all day. Use your fingertips to gently spread it evenly across your face.
Step 2: Create an Even Base with Foundation and Concealer
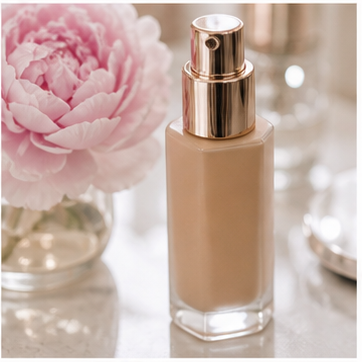
The goal of foundation is to even out your skin tone, not to create a mask. Choose a formula that matches your skin type and desired coverage. Using a damp makeup sponge or a foundation brush, apply a small amount of foundation to the centre of your face and blend it outwards towards your hairline and jaw. Remember to blend down your neck slightly to avoid a visible line.
Next, apply concealer to cover dark circles, redness, or blemishes. For the under-eye area, choose a shade one or two levels lighter than your foundation to brighten the area. Use the applicator to dot the concealer under your eyes and then gently pat it into the skin with your ring finger or a small sponge. Do not rub, as this can irritate the delicate skin and cause streaking.
Step 3: Set Your Base with Powder
Setting your liquid and cream products with powder is essential to prevent them from creasing and to control shine throughout the day. Using a large, fluffy brush, pick up a small amount of translucent or tinted setting powder. Tap the brush handle on the side of the container to remove any excess.
Lightly dust the powder over the areas that tend to get oily, such as your T-zone (forehead, nose, and chin). You should also apply a light dusting under your eyes to set your concealer. This step locks everything in place and creates a smooth, matte canvas for the powder products that follow.
Step 4: Add Dimension with Contour, Blush, and Highlighter
Now it's time to bring back the natural dimension to your face. Start with a bronzer or contour product. Suck in your cheeks slightly and apply the product in the hollows just below your cheekbones, blending upwards. You can also apply it along your jawline and at your temples for more definition.
Next, add a healthy flush of colour with blush. Smile to find the apples of your cheeks, and sweep the blush onto this area, blending it back towards your hairline. Finally, apply highlighter to the high points of your face where light would naturally hit. This includes the tops of your cheekbones, the bridge of your nose, your brow bone, and your Cupid's bow (the small dip above your top lip).
Step 5: Define Your Brows
Well-groomed eyebrows frame your entire face and complete your look. Start by brushing your brow hairs upwards and outwards with a clean spoolie brush. This reveals their natural shape and any sparse areas.
Using an eyebrow pencil, powder, or pomade in a shade that matches your hair colour, fill in any gaps with light, short strokes that mimic the appearance of natural hairs. Focus on defining the arch and extending the tail if necessary. After filling them in, brush through your brows one more time with the spoolie to soften any harsh lines and blend the product for a natural finish.
Step 6: Enhance Your Eyes
First, apply a thin layer of eyeshadow primer to your eyelids. This step is a game-changer: it prevents your eyeshadow from creasing and makes the colours appear more vibrant and last longer. For a simple, everyday look, apply a neutral eyeshadow shade all over your lid. Then, use a slightly darker shade in the crease of your eyelid to add depth. Use a fluffy brush to blend the colours together so there are no harsh edges.
Next, define your eyes with eyeliner. You can use a pencil for a soft, smudgy look or a liquid liner for a sharp, precise line along your upper lash line. To make your lashes look fuller, curl them with an eyelash curler, then apply one or two coats of mascara from the base of the lashes to the tips, wiggling the wand as you go.
Step 7: Perfect Your Lips
For a smooth lipstick application, make sure your lips are hydrated. Apply a lip balm at the start of your makeup routine and blot it off just before applying colour. Outline your lips with a lip liner that matches your chosen lipstick shade. This creates a clean edge and prevents the colour from bleeding.
Once your lips are lined, fill them in completely with the lipstick or lip gloss of your choice. You can apply it directly from the tube or use a lip brush for more precision. Press your lips together gently to ensure the colour is distributed evenly.
Step 8: Lock It In with Setting Spray
The final step is to lock all your hard work in place. Hold a bottle of setting spray about an arm's length (20-30 cm) from your face. Close your eyes and mouth, and mist your face lightly in an 'X' and then a 'T' formation to cover all areas.
Let the spray air dry completely. This magical mist helps to melt all the powder and liquid layers together, giving your skin a more natural, less "made-up" finish and dramatically increasing the longevity of your makeup. Your look will now be set for hours.
Quick Reference Cheat Sheet
| Situation | Use This Solution | Why It Works |
|---|---|---|
| My foundation looks heavy or "cakey". | A damp makeup sponge and setting spray. | The sponge picks up excess product while the spray rehydrates the makeup, helping it melt into the skin for a natural finish. |
| My eyeshadow always creases by midday. | An eyeshadow primer. | It creates a smooth, slightly tacky base that grips onto eyeshadow, preventing it from moving and creasing in the eyelid folds. |
| My blush looks like a patch of colour. | Apply it after setting your base with powder. | Powder blush blends best over a dry, powdered surface. Applying it over a wet foundation can cause it to stick and look patchy. |
| My lipstick bleeds outside my lip line. | Use a clear or matching lip liner first. | Lip liner creates a physical barrier that stops the creamy lipstick formula from migrating into the fine lines around your mouth. |
Common Problems and How to Fix Them
Even with practice, you might run into a few common issues. Don't worry, they are usually easy to fix.
- Streaky Foundation: This is often caused by using the wrong tool or not blending enough. Fix it by going over your face with a clean, damp makeup sponge, using gentle bouncing motions to press the foundation into the skin and smooth out any streaks.
- Overdone Eyebrows: If you've filled in your brows too heavily, simply take a clean spoolie brush and comb through them repeatedly. This will soften the product and lift away the excess pigment for a more natural look.
- Clumpy Mascara: This can be caused by an old formula or applying too many thick coats. Before you apply, wipe the excess mascara off the wand onto the lip of the tube. If you do get clumps, use a clean spoolie or a lash comb to gently separate your lashes while they are still wet.
- Harsh Contour Lines: If your contour looks more like a stripe than a shadow, take a clean, fluffy brush with no extra product on it and blend the edges in small circular motions. You can also use a brush with a small amount of your foundation powder to soften the line.
Advanced Tips for a Professional Finish
Once you've mastered the basics, you can try these techniques to take your makeup skills to the next level.
- Colour Correcting: Before foundation, use coloured concealers to neutralise skin discolouration. A green corrector cancels out redness from blemishes, a peach or orange corrector works wonders on blue-toned under-eye circles, and a lavender corrector can brighten sallow skin. Apply a very thin layer only where needed.
- "Baking" Your Makeup: For an incredibly smooth and long-lasting finish, especially for oily skin or special events, try baking. After applying and blending your under-eye concealer, apply a thick layer of loose translucent powder on top. Let it sit for 5-10 minutes, then use a fluffy brush to gently sweep away the excess.
- Using Eyeshadow as Eyeliner: For a softer, smokier look than liquid liner provides, you can use a dark eyeshadow as an eyeliner. Simply wet a small, angled brush with setting spray, dip it into a dark brown or black eyeshadow, and press it along your lash line.
Makeup Eyes Lips Face FAQ
Do I have to apply my makeup in this exact order?
While the Face > Brows > Eyes > Lips order is a professional standard that prevents issues like eyeshadow fallout ruining your foundation, you can adapt it. Some people prefer to do their eyes first for this very reason, especially when using dark or glittery eyeshadows. Find the workflow that feels most comfortable and logical for you.
What is the difference between setting powder and finishing powder?
A setting powder is used to lock in your liquid/cream base products (foundation, concealer) to make them last longer and control shine. A finishing powder is typically used as the very last step to blur fine lines and pores, giving the skin an airbrushed look. For everyday wear, a setting powder is usually sufficient.
How often should I wash my makeup brushes and sponges?
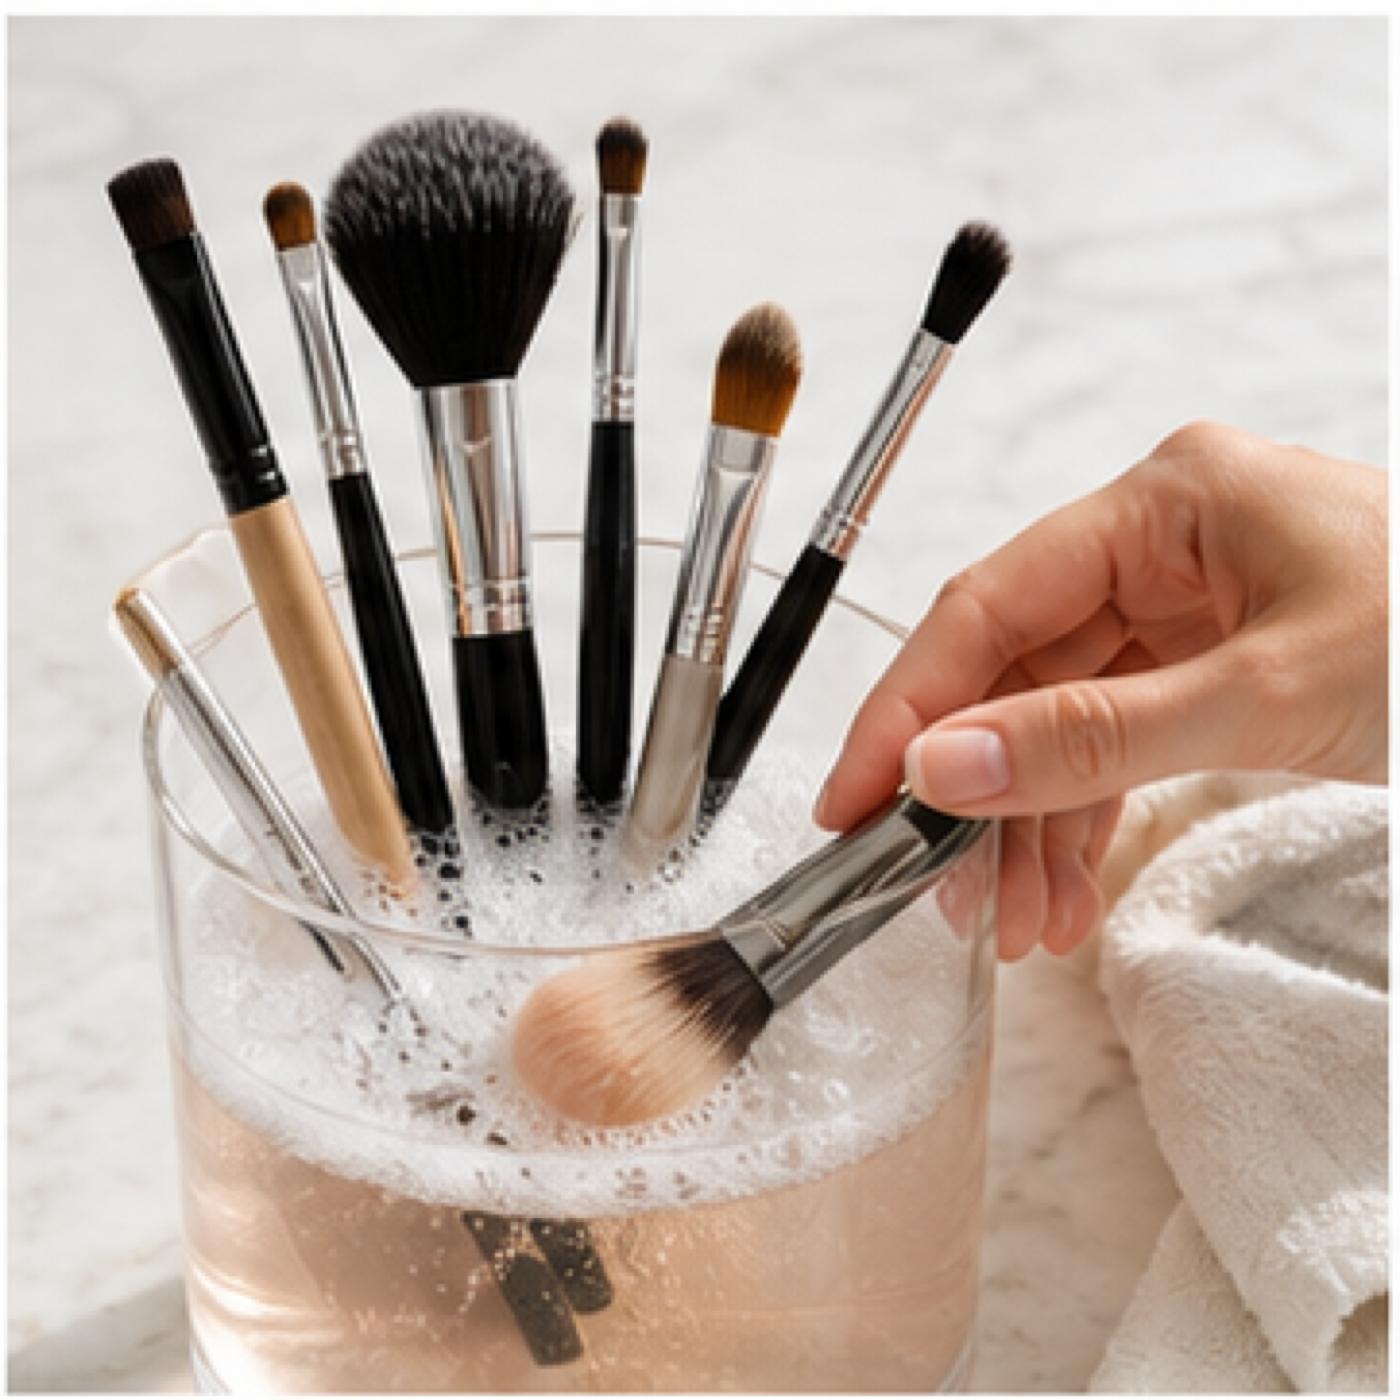
It's crucial for skin health and better makeup application. Foundation and concealer brushes should be cleaned at least once a week. Eyeshadow brushes can be cleaned every 1-2 weeks. Sponges should be washed after every single use, as they absorb a lot of product and can harbour bacteria.
Final Checklist for a Flawless Application
Before you head out, run through this quick mental checklist to ensure everything looks polished and complete.
- Seamless Base: Is your foundation fully blended down your neck with no visible lines at the jaw?
- No Harsh Lines: Are your contour, blush, and highlighter blended together smoothly? Are your eyeshadow colours softly transitioned?
- Symmetrical Features: Are your eyebrows and eyeliner wings (if you've done them) even on both sides?
- Clean Edges: Is your lipstick applied neatly within your lip line? Is there any smudged mascara or eyeliner to clean up?
- Final Set: Have you used a setting spray to meld all the layers together for a skin-like finish and long-lasting wear?